


MEET
JOANNA
Hi there! I'm Joanna Krueger and my husband Michael and I are a wedding photography team in Houston, TX. We hope you enjoy viewing our latest work and getting a peek into our lives!
sort by
category
weddings
engagement
bridals
personal
education
READ MORE...
looking for something in particular?
January 29, 2018
How to Take Better Vacation Photos
Question 1: “Is it safe to travel with your camera??”
Question 2: “What lenses did you bring with you??
Question 3: “What camera bag did you bring??”
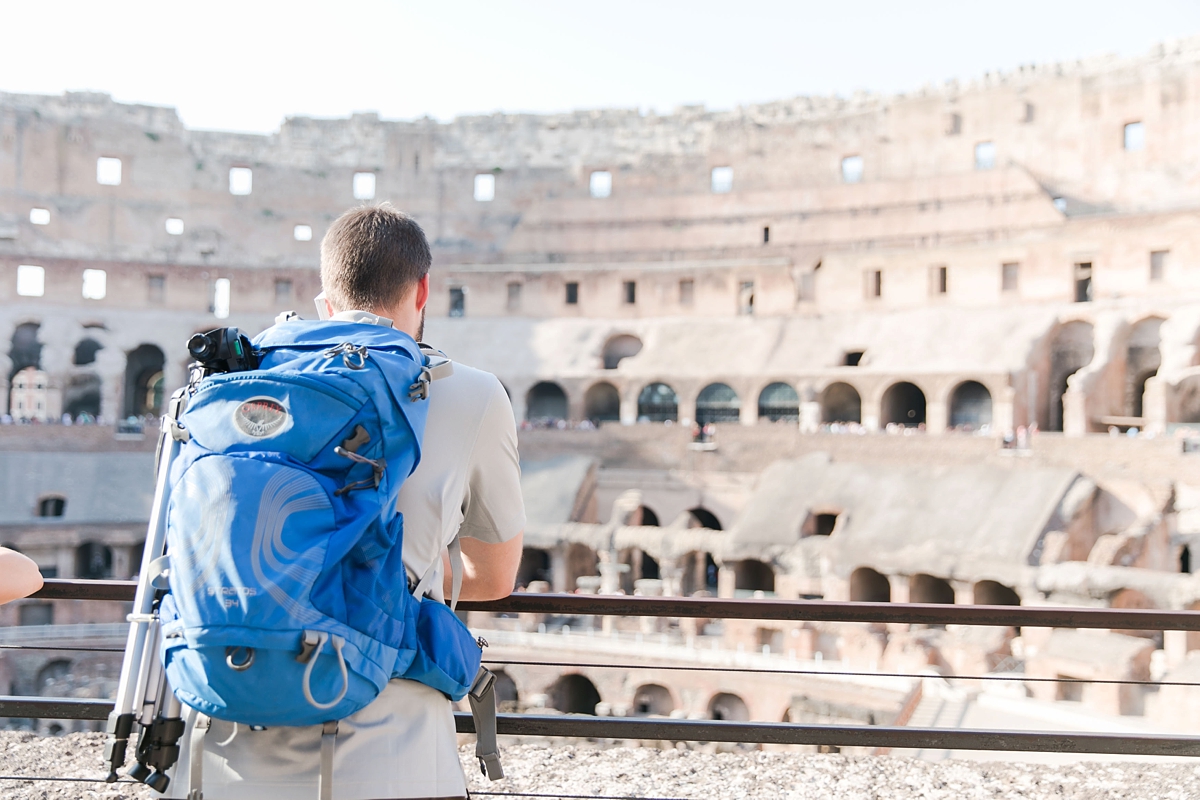
I use this cross body camera strap by Black Rapid (it’s currently discontinued so here’s a similar strap) and I wear my camera while we’re out and about. The great thing about this cross body strap is that it is super comfortable, very easy to wear and you don’t have to worry about anyone coming up and snatching your camera off your shoulder. When I need to stow the camera away, we just put it in the backpack. People might think it’s strange that I don’t carry a camera bag while sightseeing but this is just what works for me. I’m CONSTANTLY taking pictures so it just makes more sense to me to keep my camera out instead of having to pull it in and out of a camera bag all day long. So now that you’ve seen our sightseeing-setup, let’s dive into my top five travel tips!!
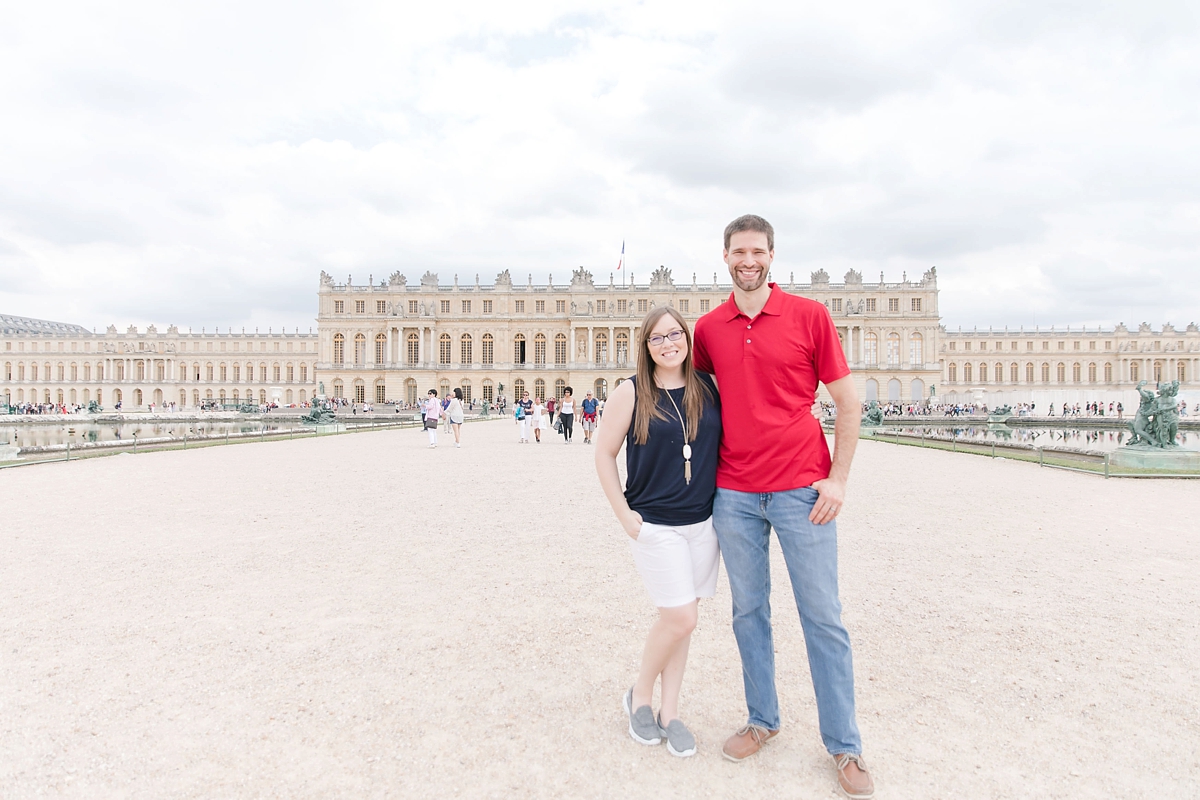
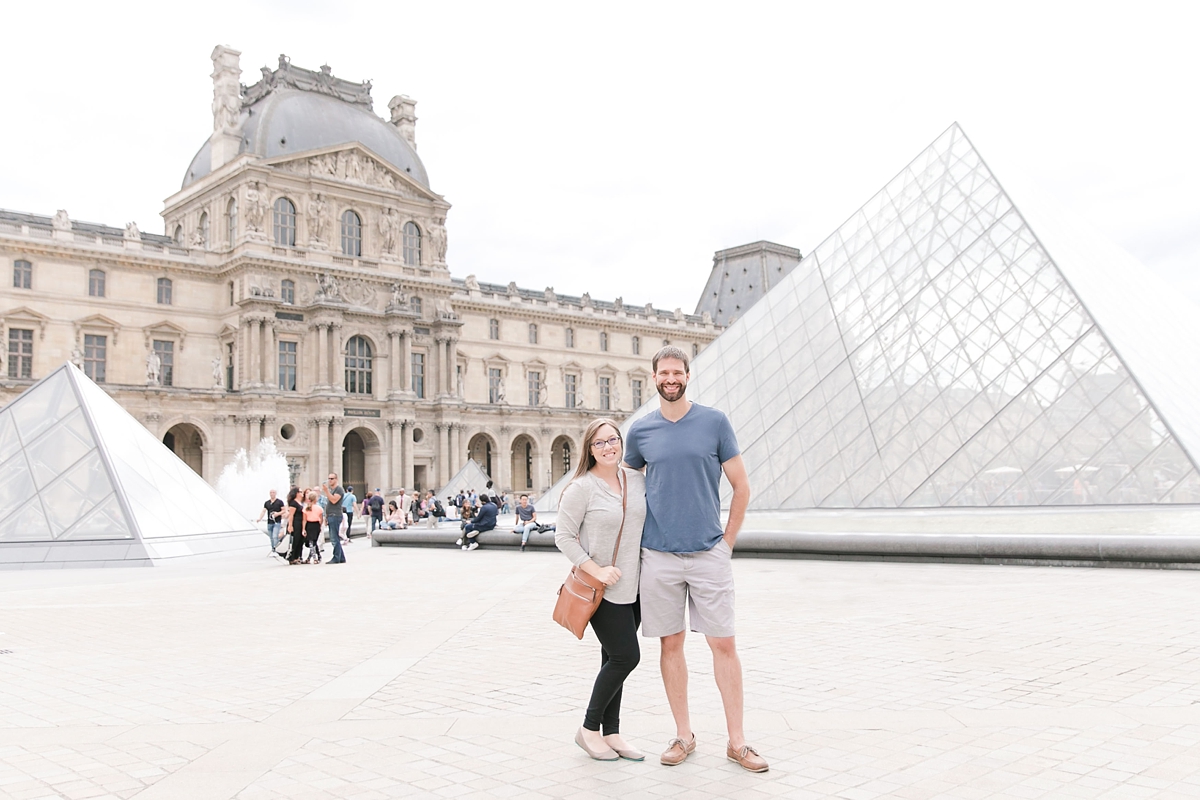
1. Bring a Tripod
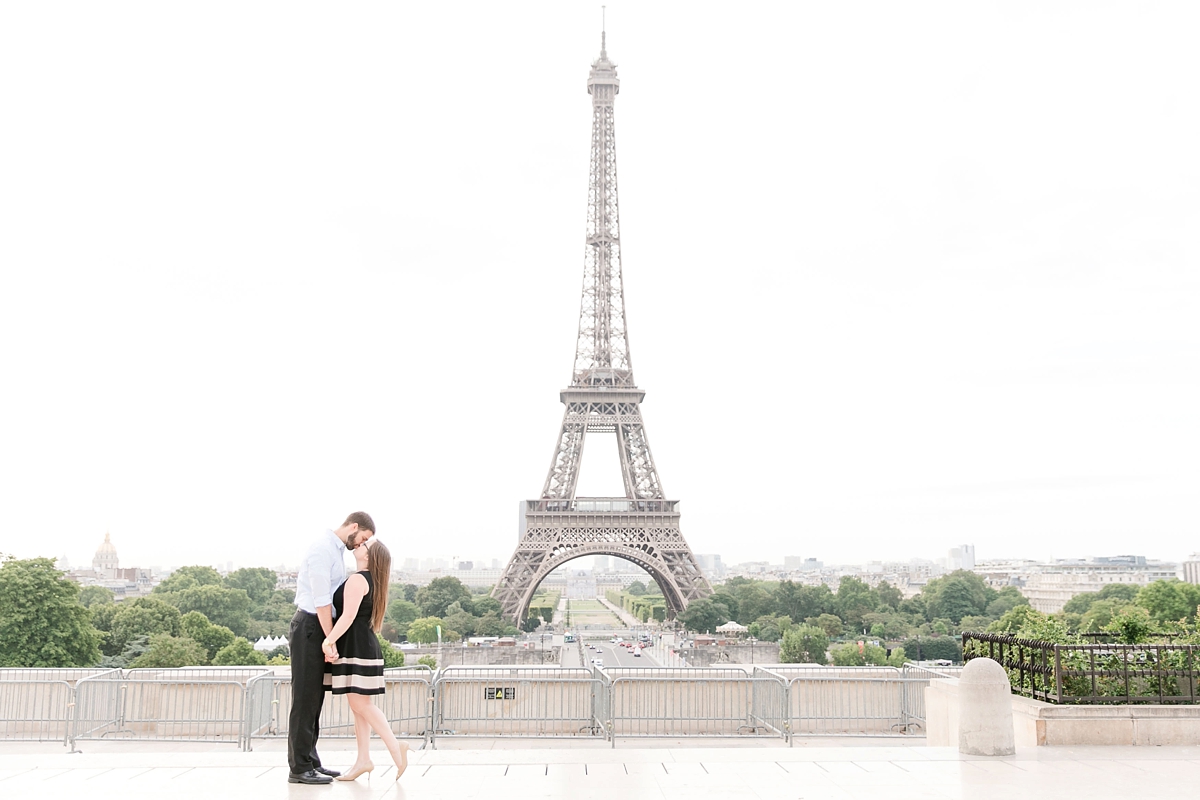
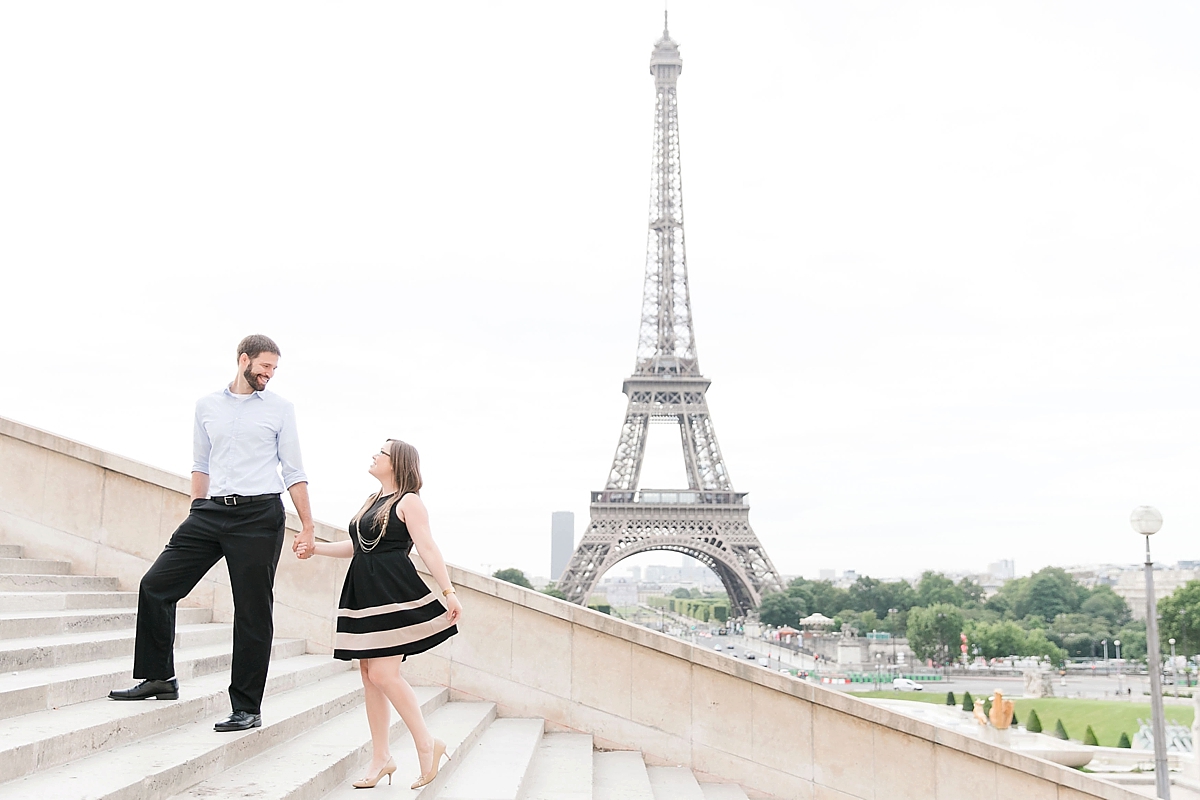
This is my favorite tip. We’ve gotten to where we bring our tripod on every vacation. Michael found a way to attach it to our backpack so we can carry it around when we sightsee and it’s not an issue. If we find a place that I deem tripod worthy, we set it up and then wait patiently for the people to clear. When we took our own anniversary portraits in Paris, we used a tripod. It took a lot of finagling to get the right angle but it paid off big time.
Having a tripod just makes me feel a lot more comfortable taking photos when we travel. Not everybody knows how to use a DSLR camera and, personally, I’m not that comfortable handing over my camera to a stranger to take our photo. When we were in Miami, a very nice, older man offered to take our picture on the beach. He was so sweet to just offer to take our photo! But when I handed him my camera, he started walking away from us and I got a weird feeling. He started walking down the beach away from us and I told Michael that I thought he may be stealing our camera. He wasn’t. He just found what he thought was a great angle and wanted to take our photo from that vantage point. But it was still enough for me to feel uncomfortable handing off my camera to a stranger unless it was someone else who also had a DSLR camera and looked like they knew what they were doing. (I still don’t even do that.)
Here are some of our travel tripod photos!
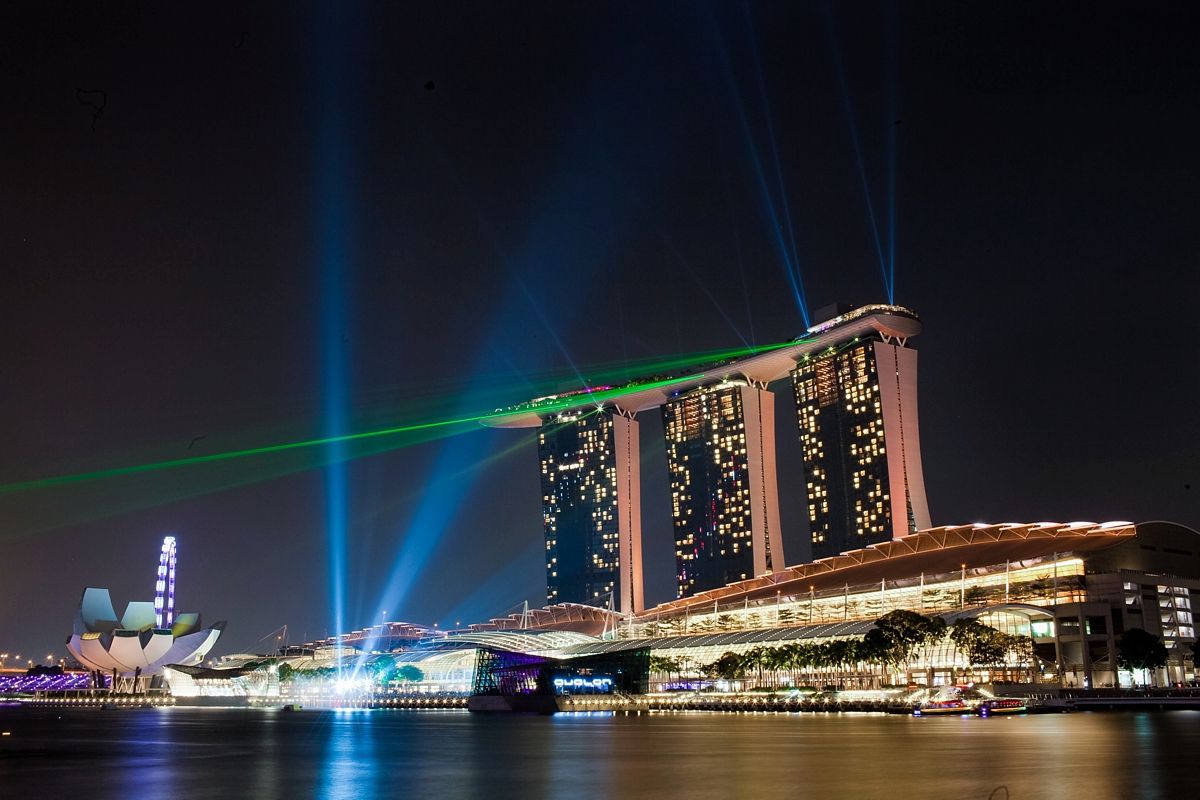
Another reason I LOVE having a tripod on vacations is so that I can take long exposures at night. These shots were only possible by setting my camera on a tripod and taking long exposures. The fireworks photo was taken with a two second exposure. That way, you can see the pathways of the fireworks and the sparkle from the tower.

With this photo from Singapore, we were just hanging out and watching the laser show so I started having fun with long exposures. This was a thirty second exposure. I got all the lasers!!
2. Get a Remote
My other favorite tip is getting a remote. I found this remote on Amazon for under $10 and it is well worth it. If you set your camera to a 2 second timer and use your remote to trigger your shutter, you’ll have enough time to hide your remote in your hand. This is also great for taking pictures of yourself without having to use a 10 second timer and running back-and-forth to take the photo. When you set this up, you’ll have to have someone standing in place so you can set the focus on them. Then just place yourself in the frame and use your remote to take the picture! This is what we were going to do when we took our anniversary portraits in Paris but we lost our remote sometime during sightseeing and I ended up running back-and-forth with a 10 second timer. In heels. If you’ve ever done that at some point in your life, get a remote!
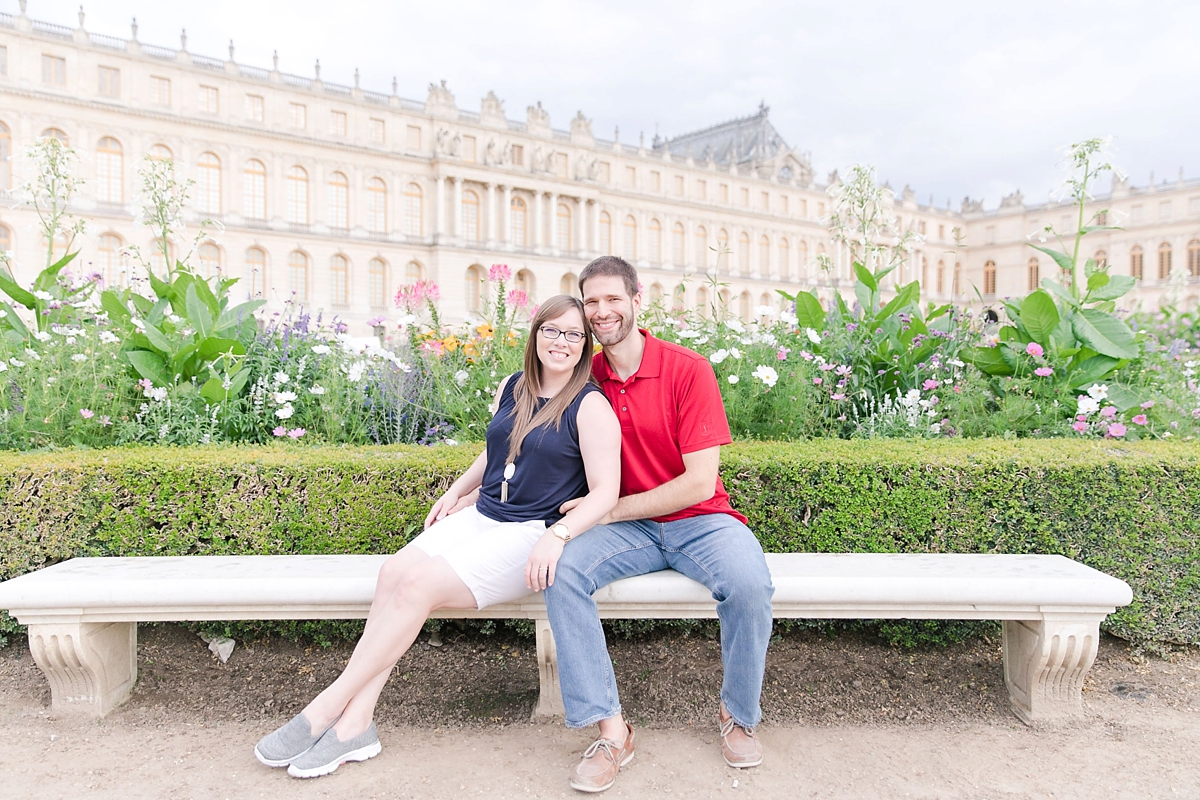
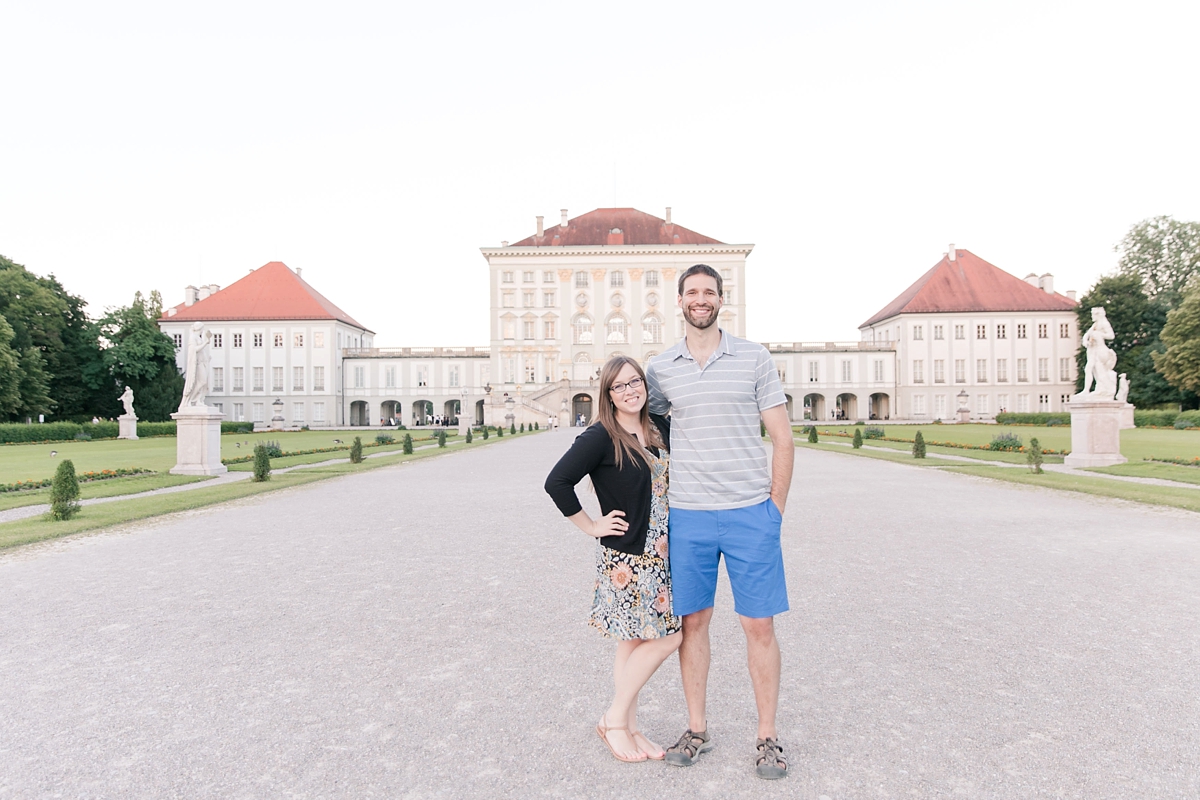
3. Find Good Light
It’s no secret that our favorite time to shoot it’s about two hours before sunset. But we know that when you’re on vacation, you’re taking photos all day long. One of the photographers for National Geographic once shared that National Geographic won’t even look at landscape photos that were taken during the daytime. They only accept and publish photos that were taken at sunset. Even if the photo is absolutely amazing, they won’t use it unless it was taken at sunset. That may sound a little extreme, but Nat Geo knows that good light = a good photo. Midday sun is the hardest light to photograph. The light is so bright, and so harsh that if you’re photographing people, they will have unflattering shadows around their eyes and nose. Now we’re not all National Geographic photographers, but if you think like one, you’ll take photos like one.
When it comes to vacation photos, try to find even light from head to toe. Even light means that your whole body has the same kind of light from head to toe. You don’t want to have half of your body in shade and half of your body in the sun. Pay attention to where the sun is and always try to keep it behind you instead of staring right into it. Nobody likes squinty eye pictures! If you’re not sure about which way to face, face your shadow or have it angled up to 45 degrees away in front of you. That will ensure that the front of your body will be in even light. Bonus: get even light from head to toe on your body, and even light in the background behind you.
This was taken close to the middle of the day. This photo works because I placed the sun behind us (look at our shadows). Also, for photographers, I used the cobblestone road as a natural reflector to bounce soft light back up on our faces. This way, our faces aren’t too dark and I get that bright and airy look that I love!
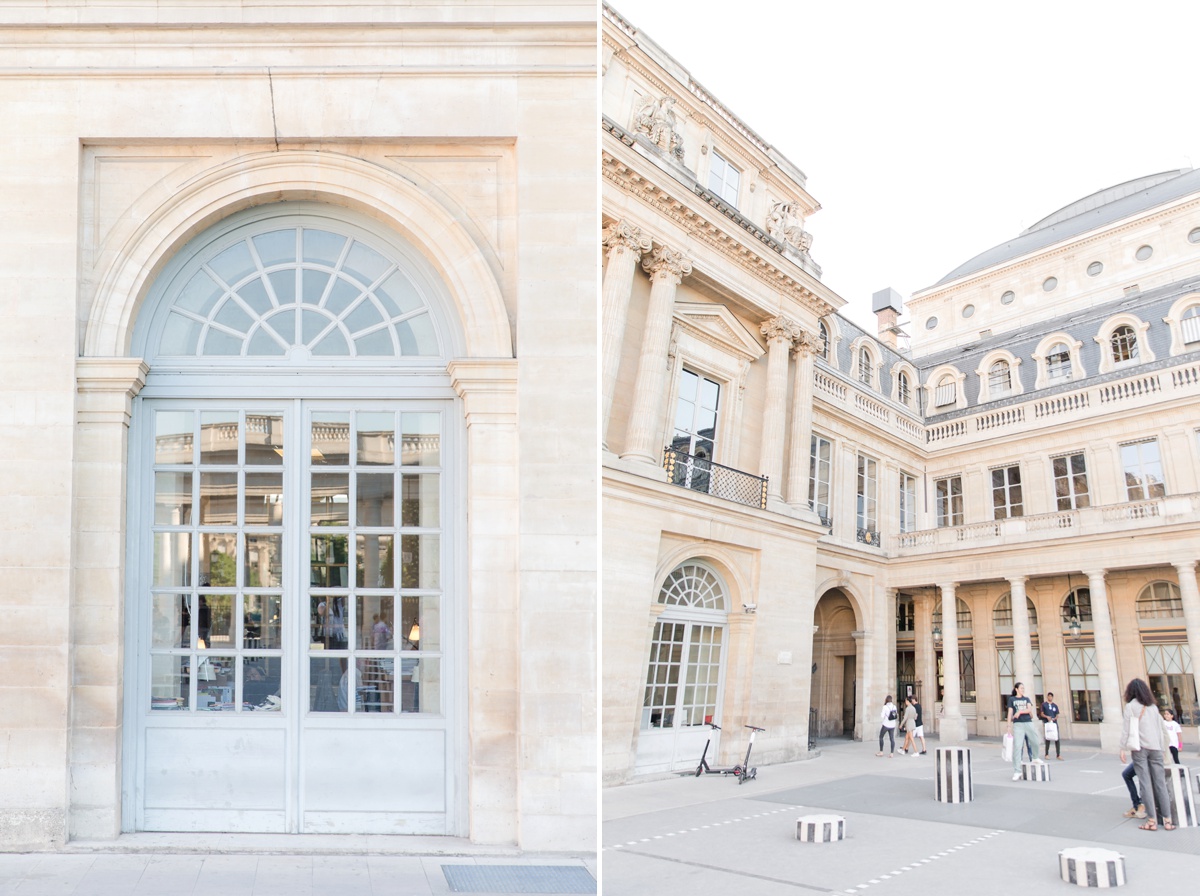
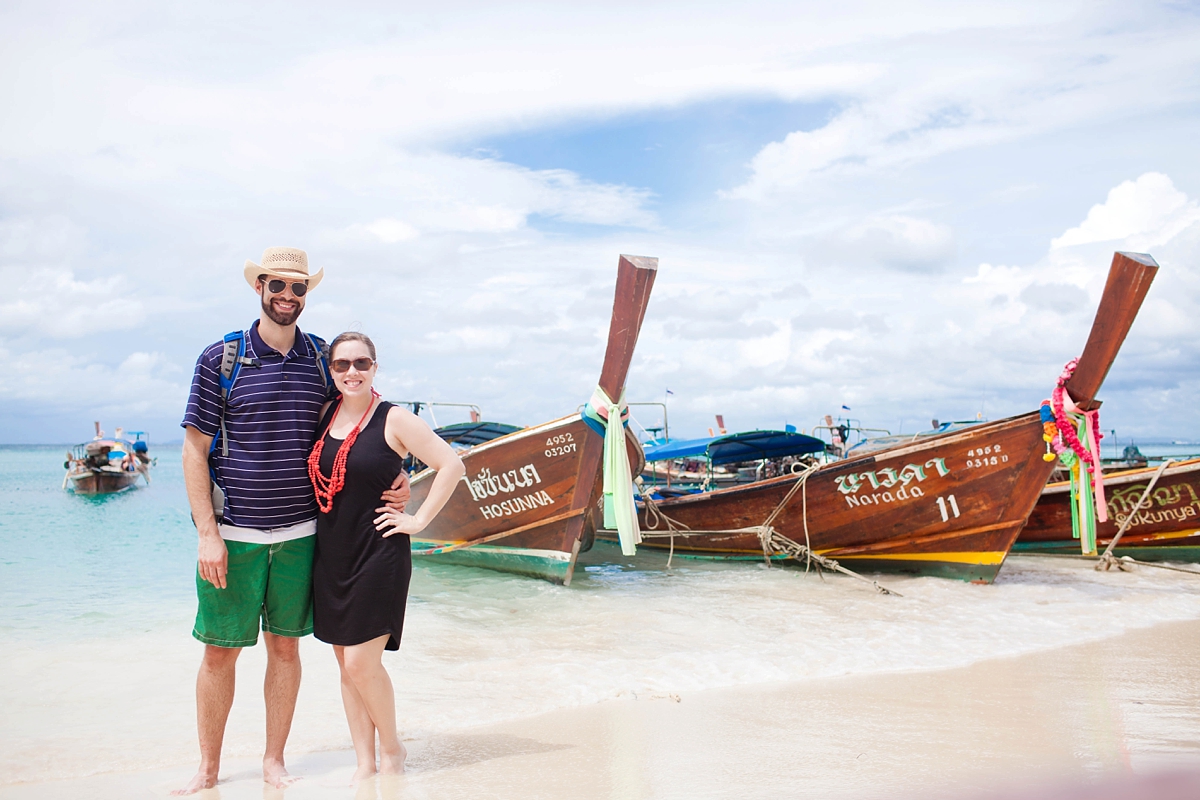
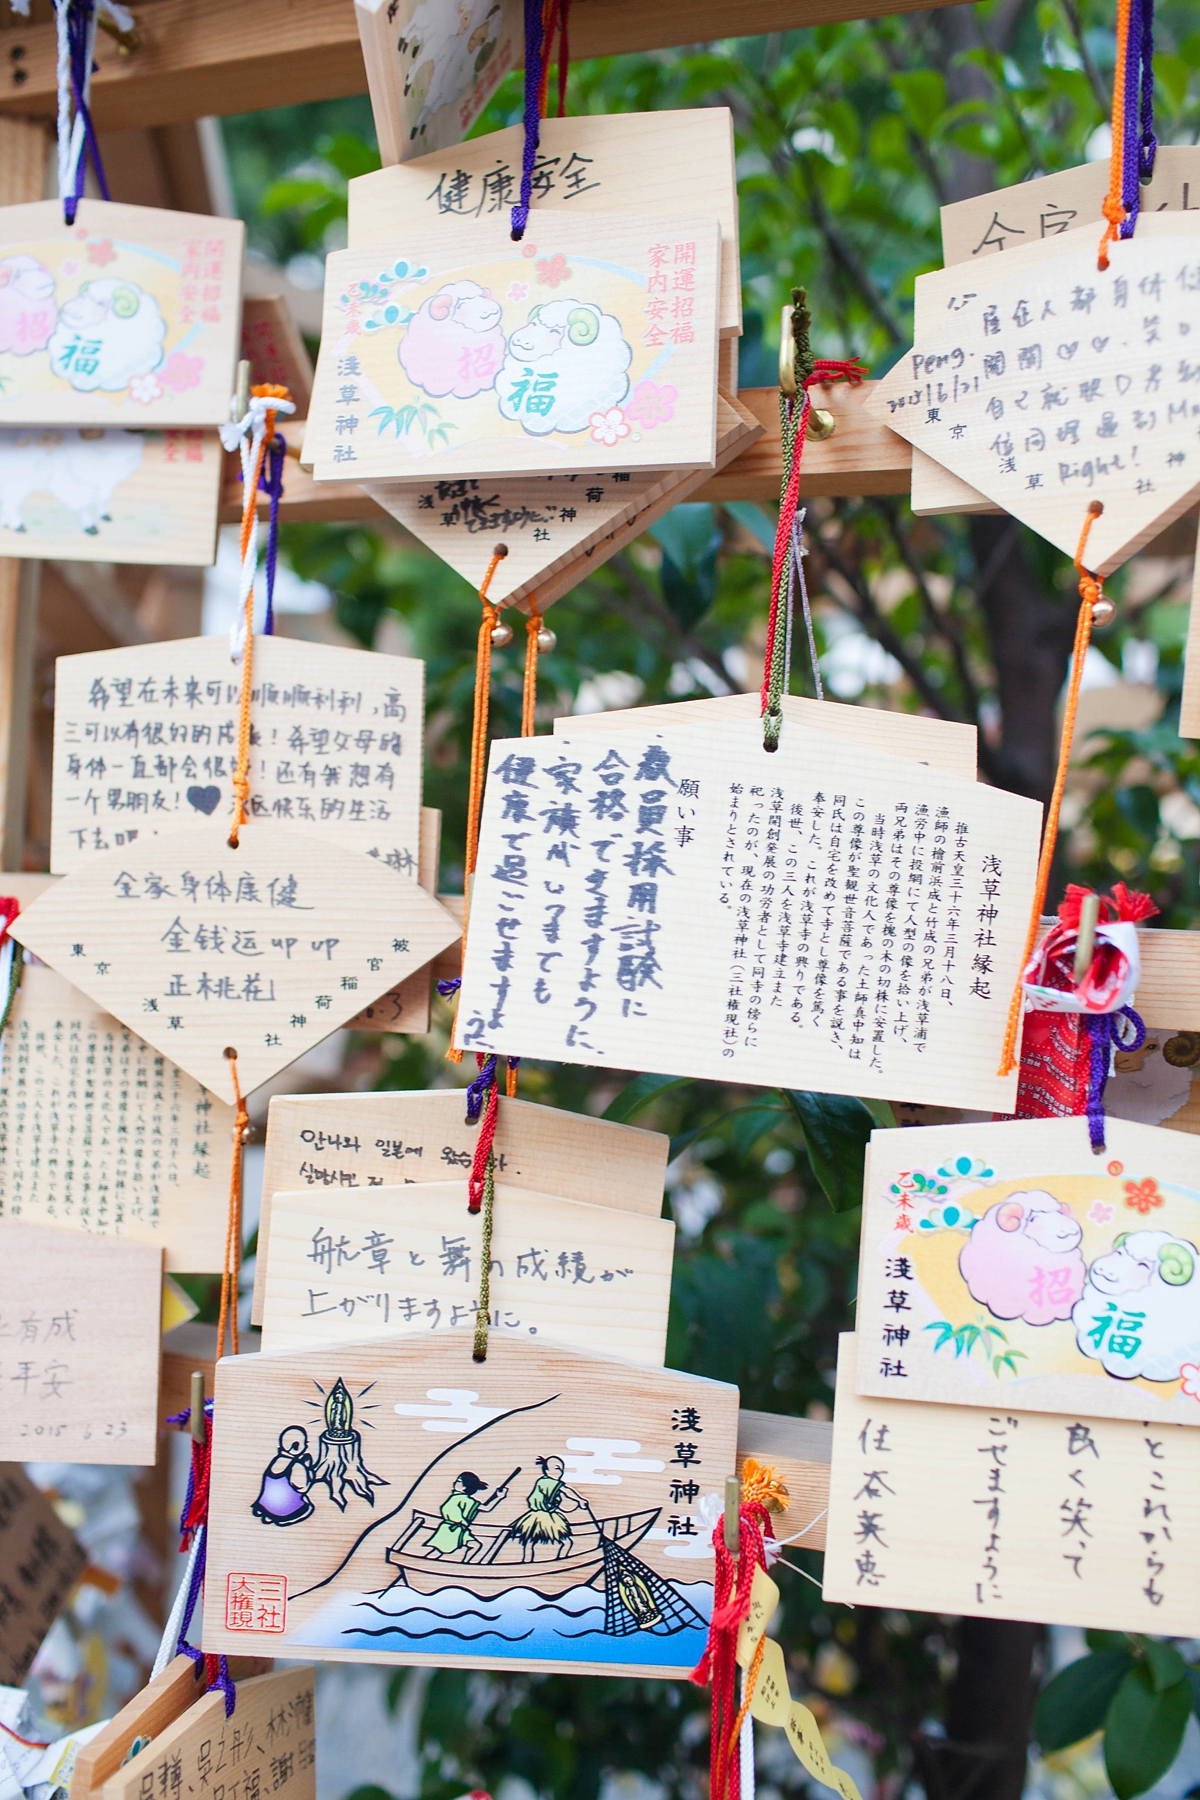
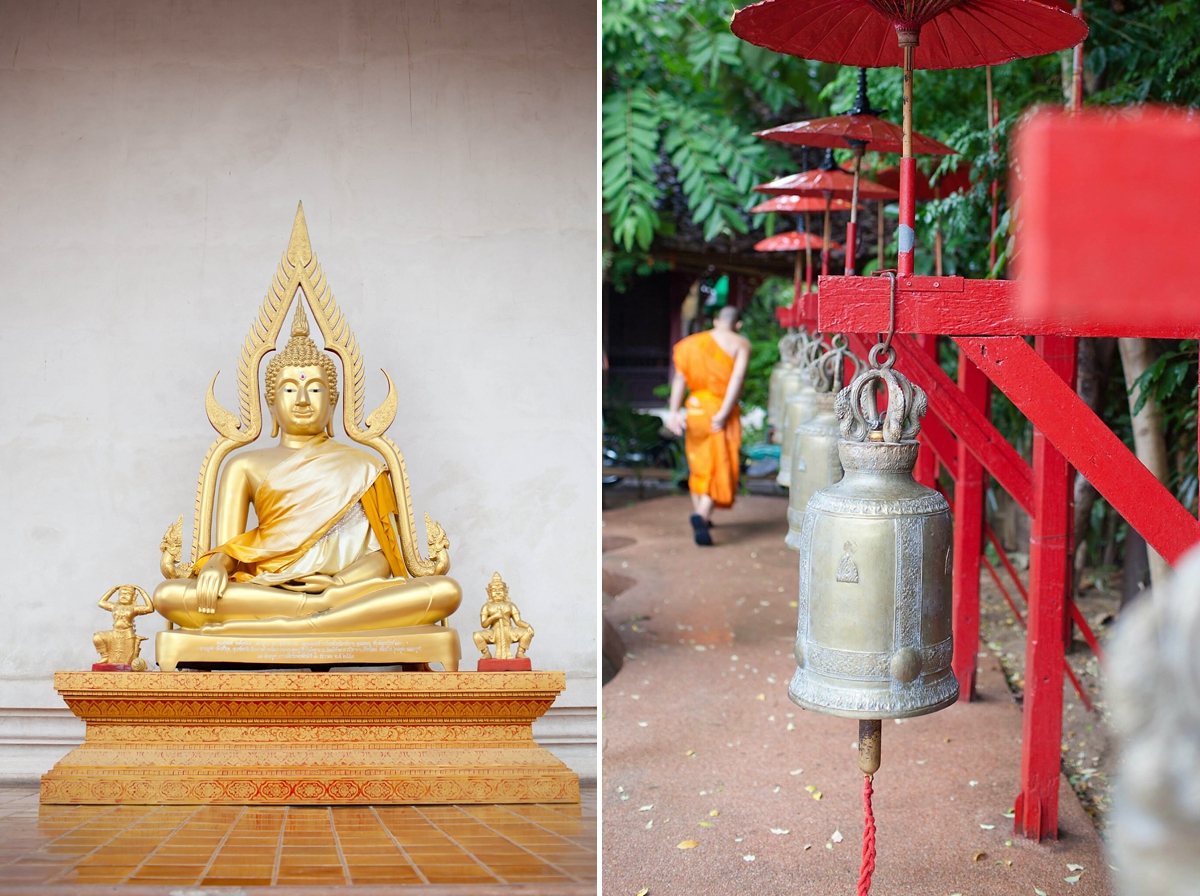
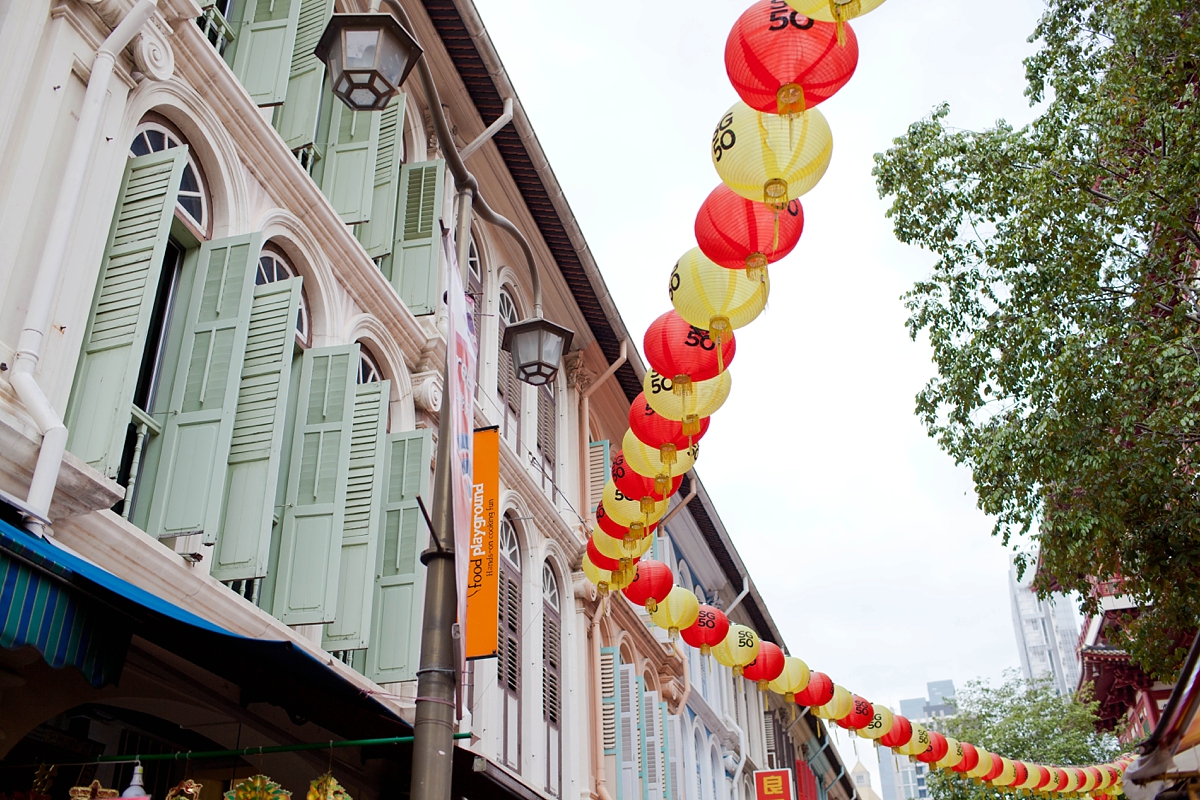
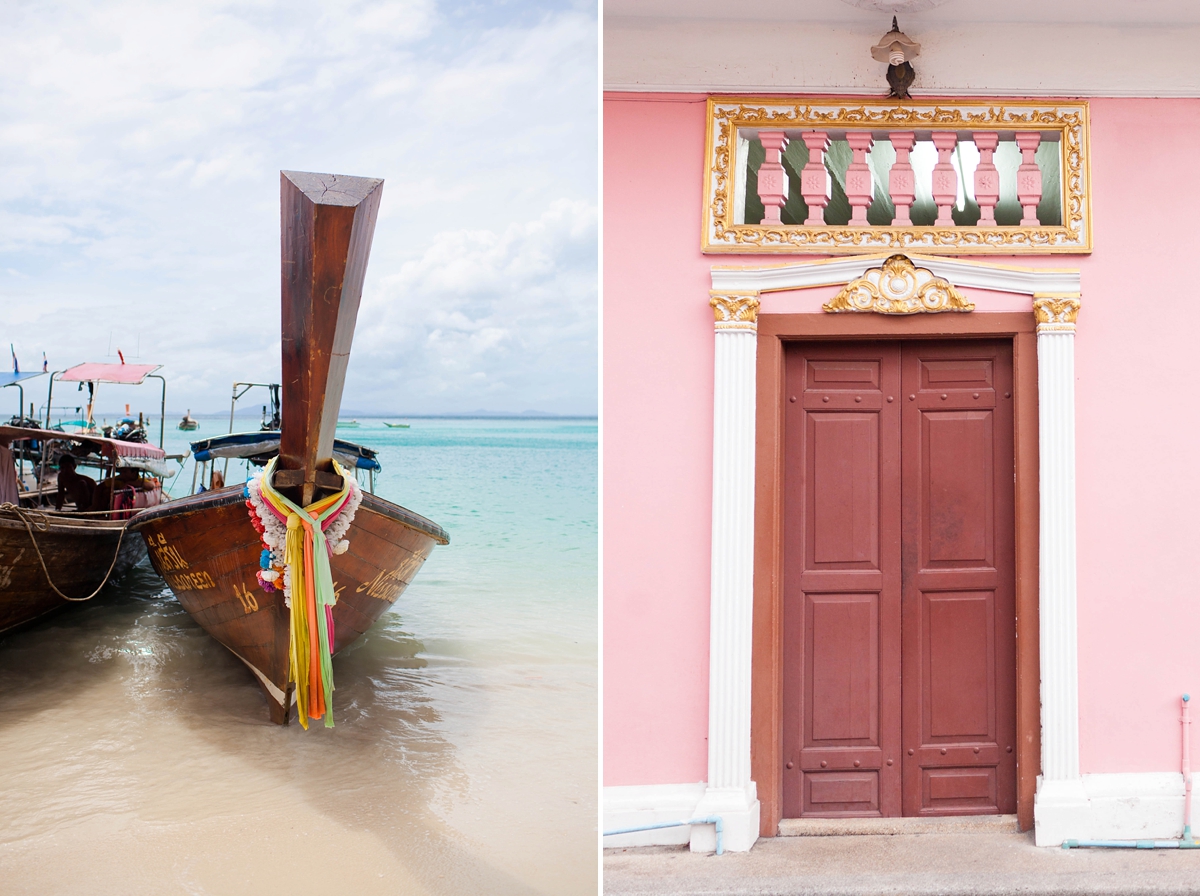
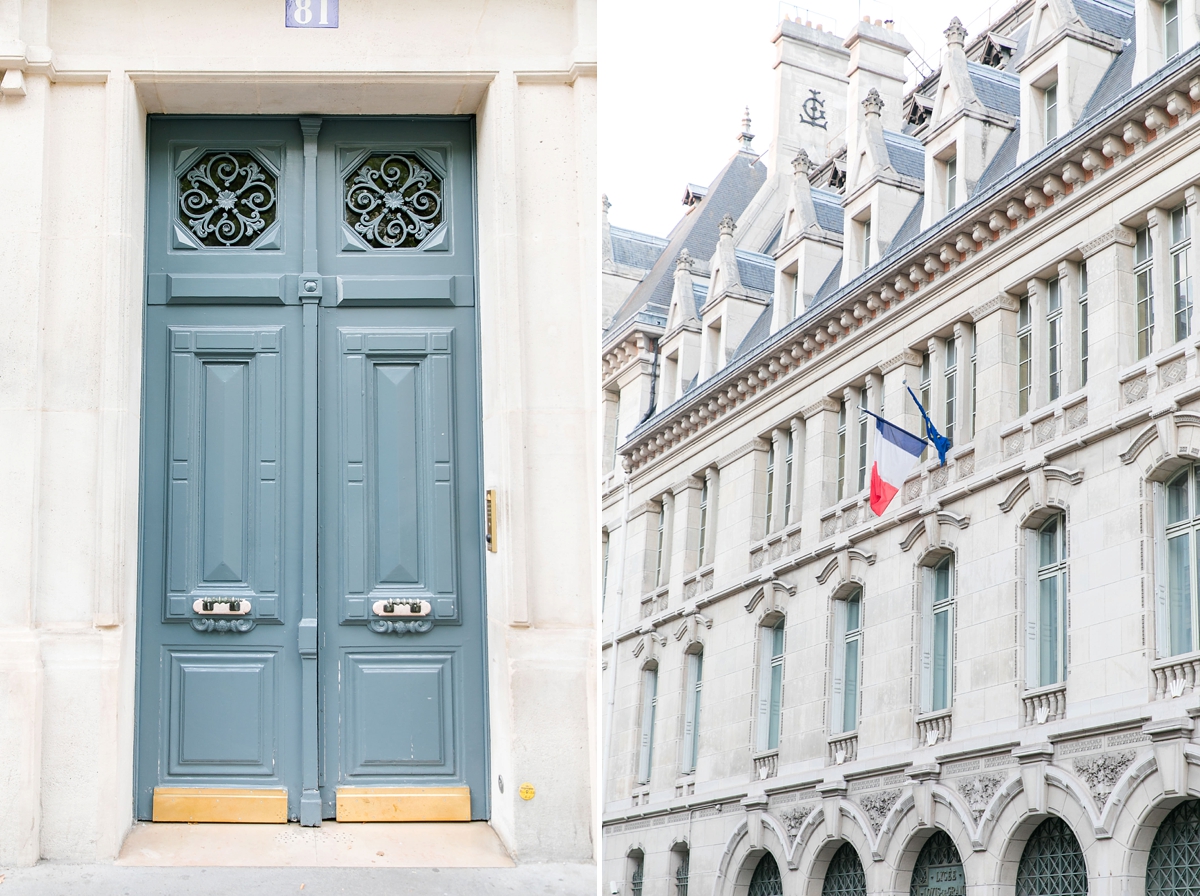
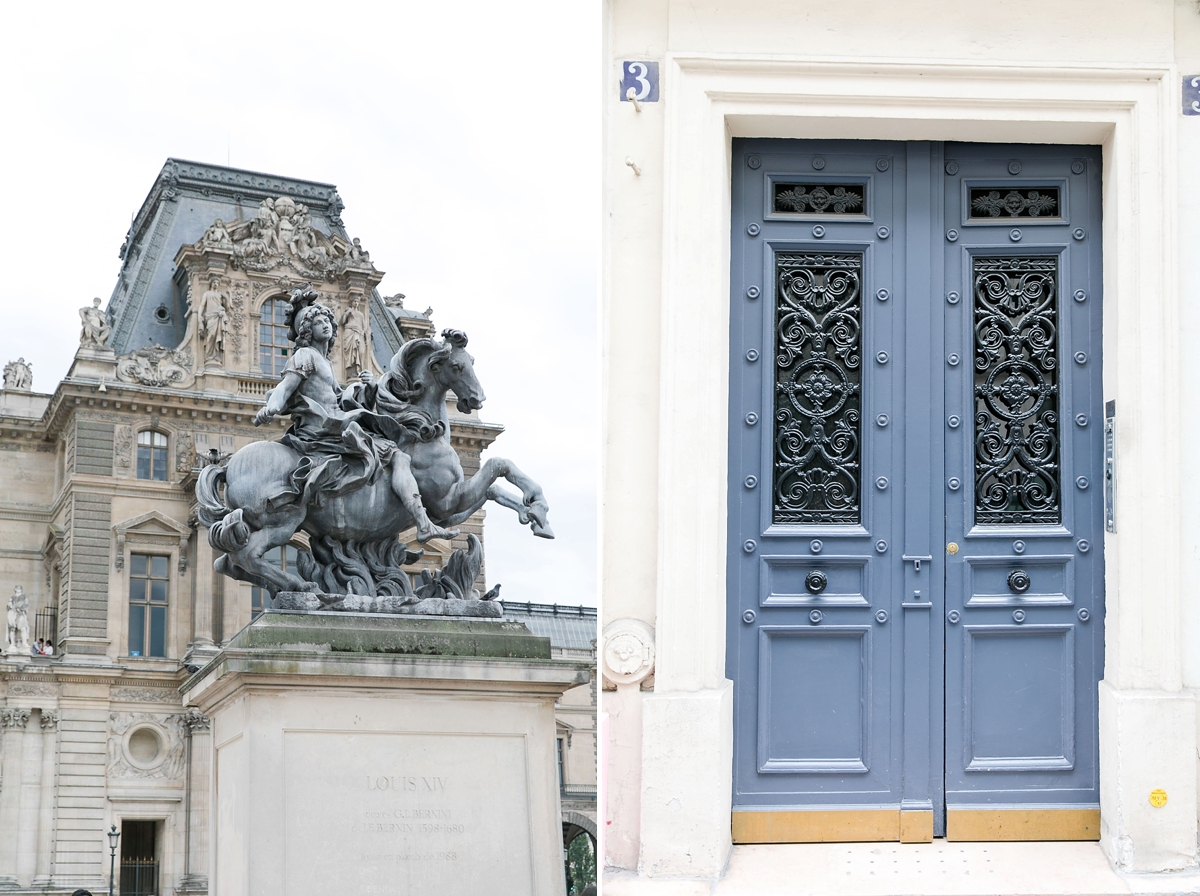
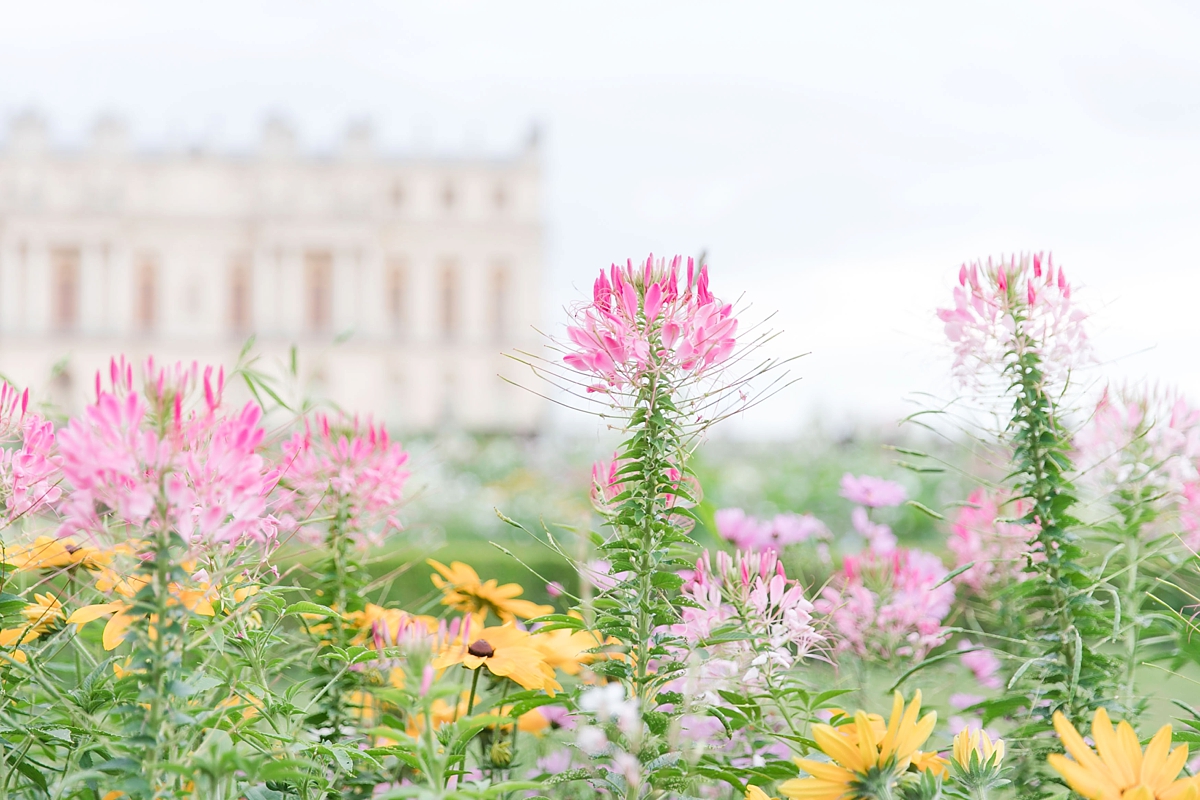
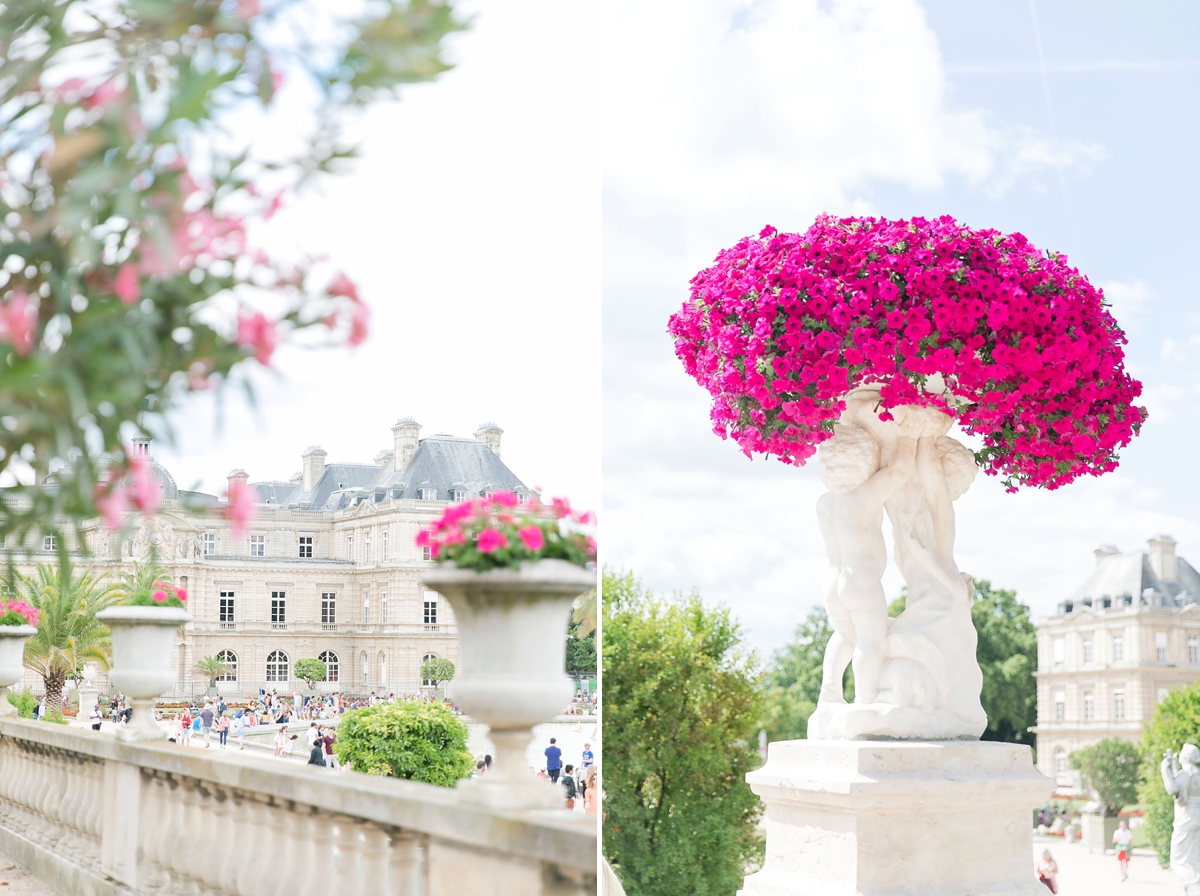
4. Photograph the Details
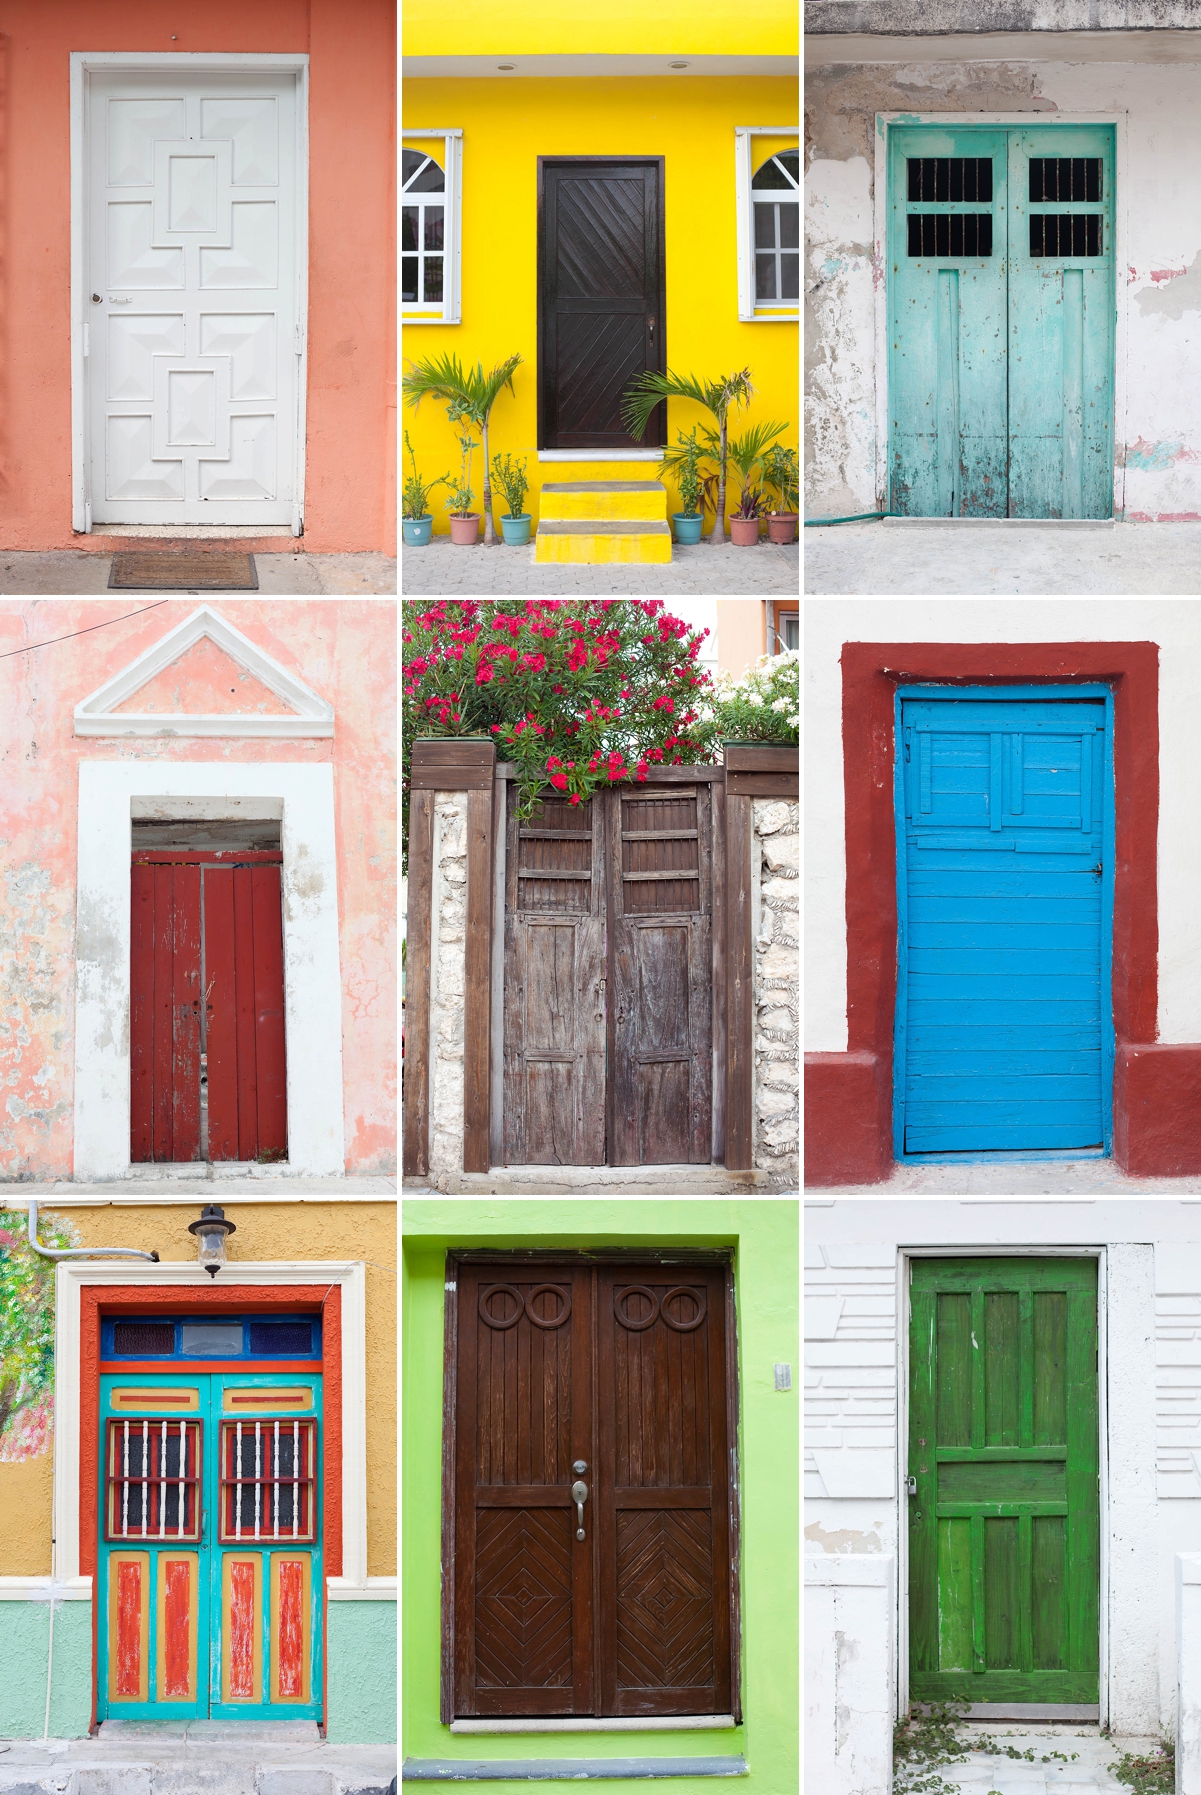
Maybe this is where being a wedding photographer gives me an edge with travel photos but I looooove photographing details. Some of my favorite travel photos have been the details of the places we’ve visited. It’s easy to get that iconic post card shot of places (or what I call – “the walk up shot” – where you walk up and take what you see at eye level) but have you ever looked for the smaller details in and around the area? Or different angles? I always look for country flags, interesting doors, flowers that only bloom in that area, or any kind of characteristic or thing that is special to the place we’re visiting. Michael knows I have a weird love of old doors. When we were in Isla Mujeres riding around on a golf cart we rented, he stopped every time I saw an interesting door and let me get out and photograph it. He’s such a patient and loving husband!
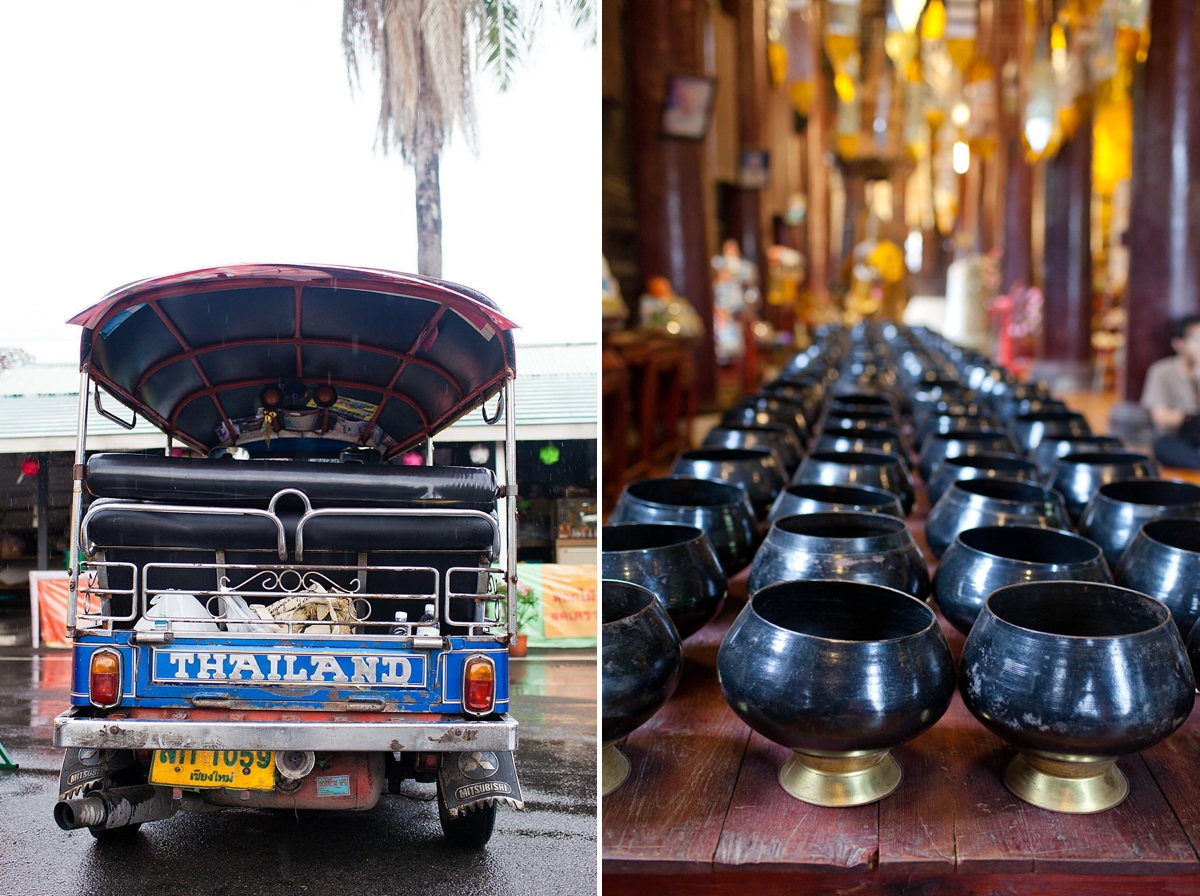
I love this truck on the left! Details don’t always have to be pretty. This photo captures part of what life is like in Thailand.
Prayers and wishes in Tokyo.
Buddhist details in Thailand.
50 year anniversary lanterns in Singapore! (And teal shutters!!)
I just loved how they decorated the long tail boats in Thailand so I made sure to take a photo!
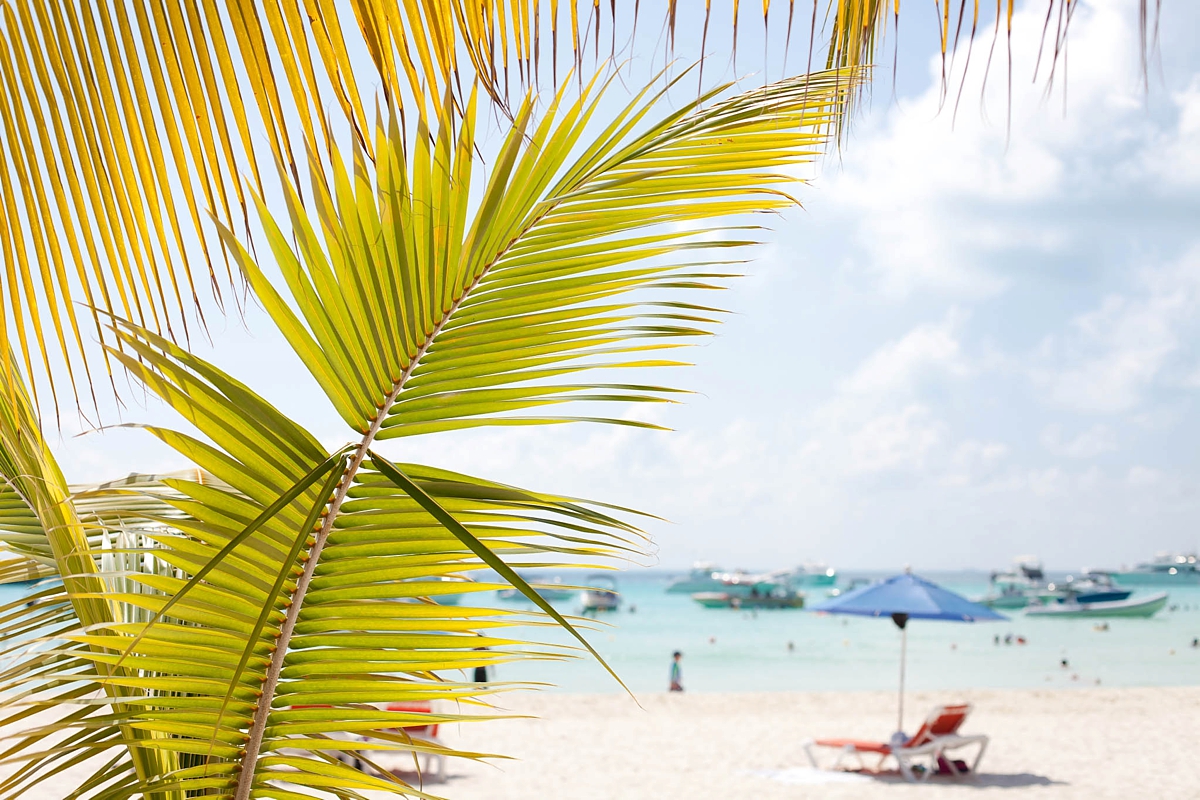
I was actually just hanging out in the shade when I saw this view through the tree.
This is just part of my obsession with doors….
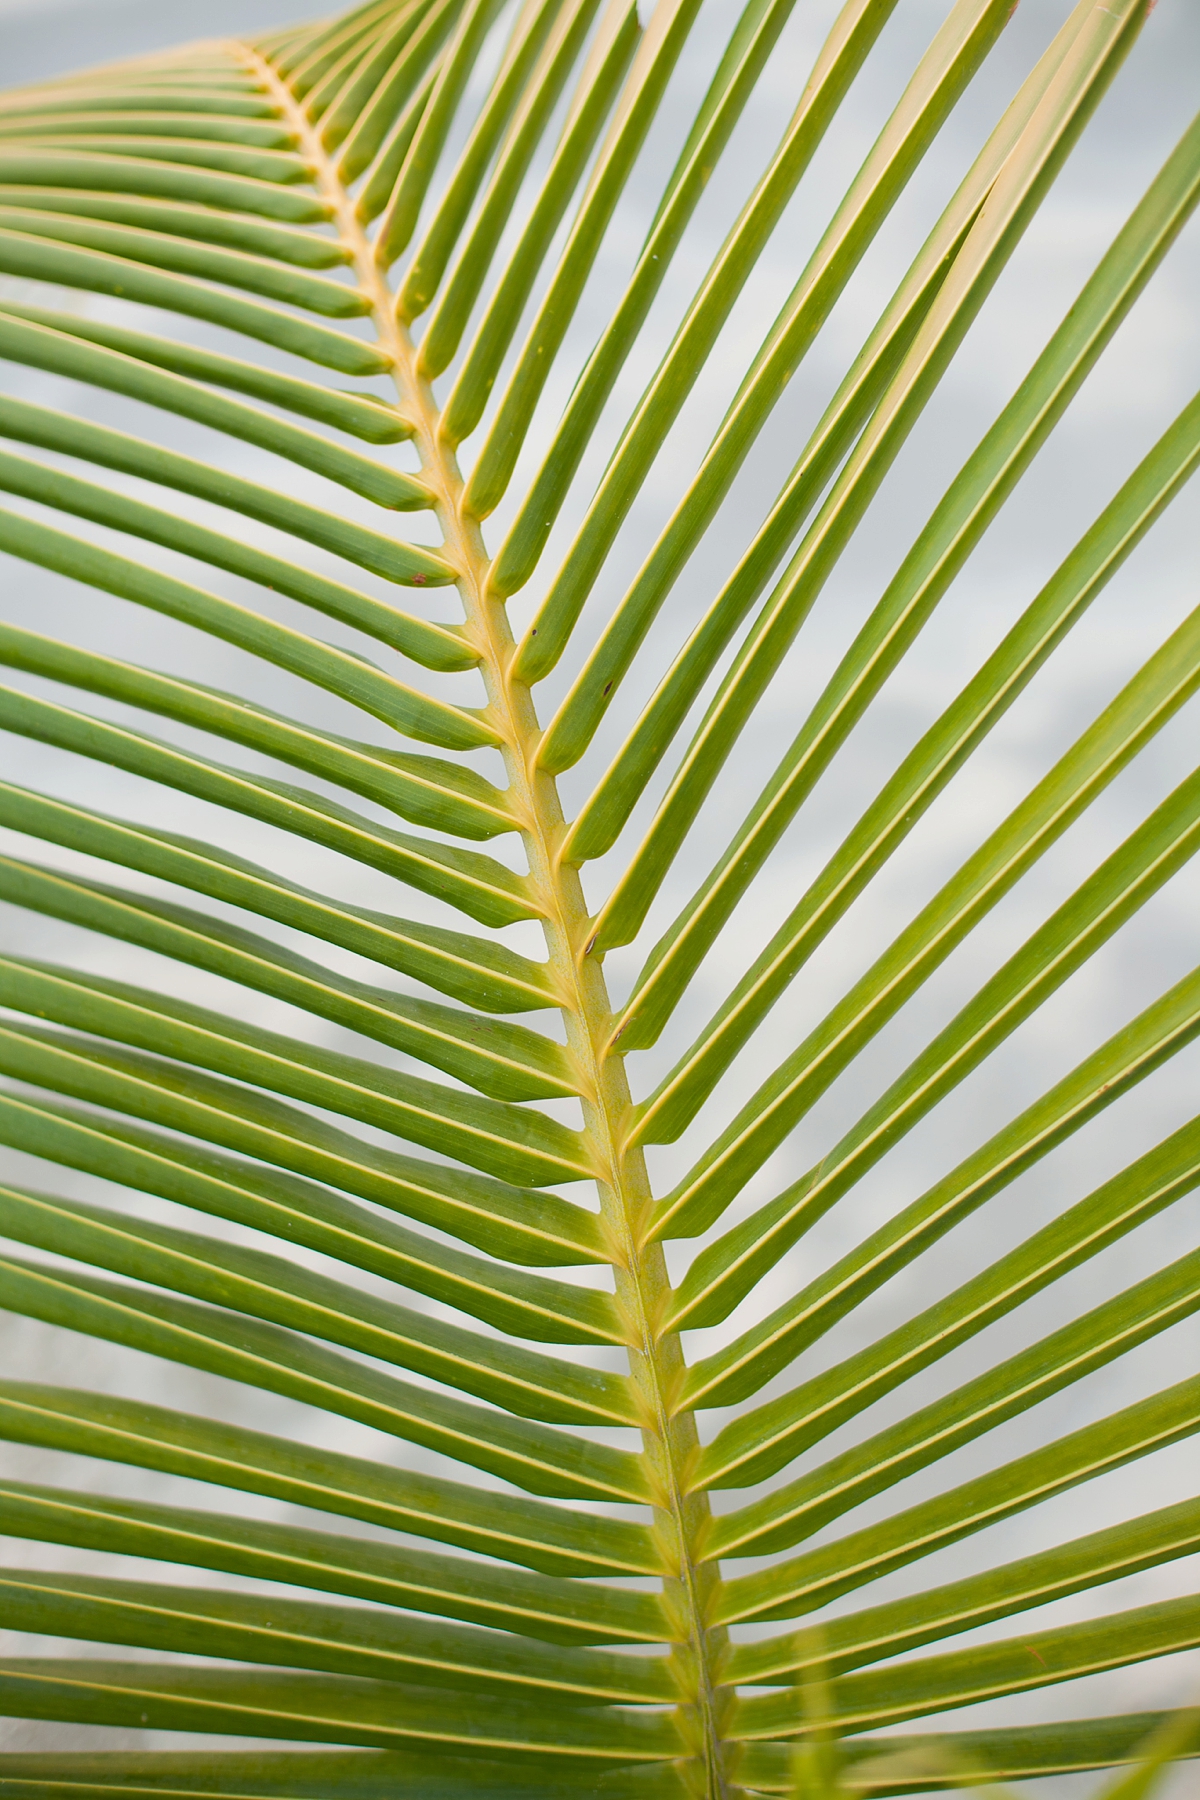
Look for interesting lead lines!
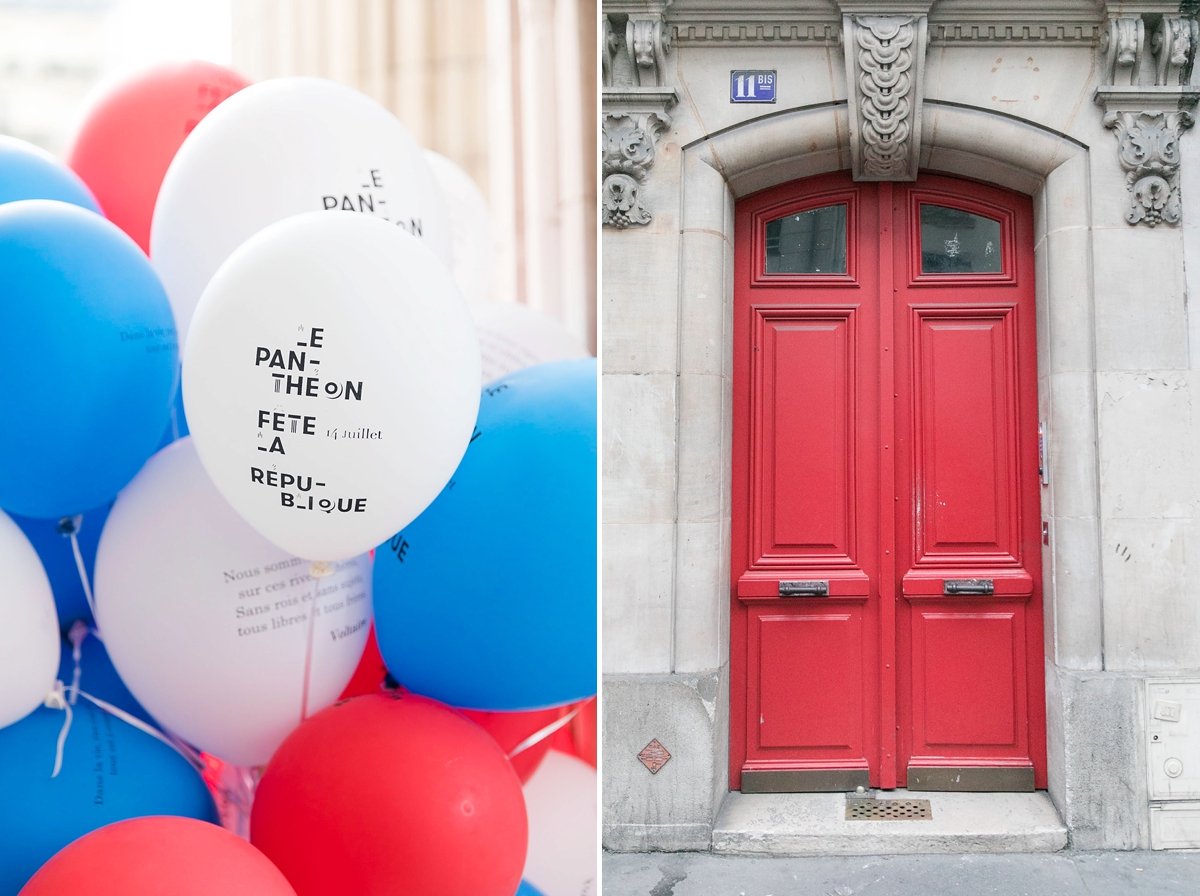
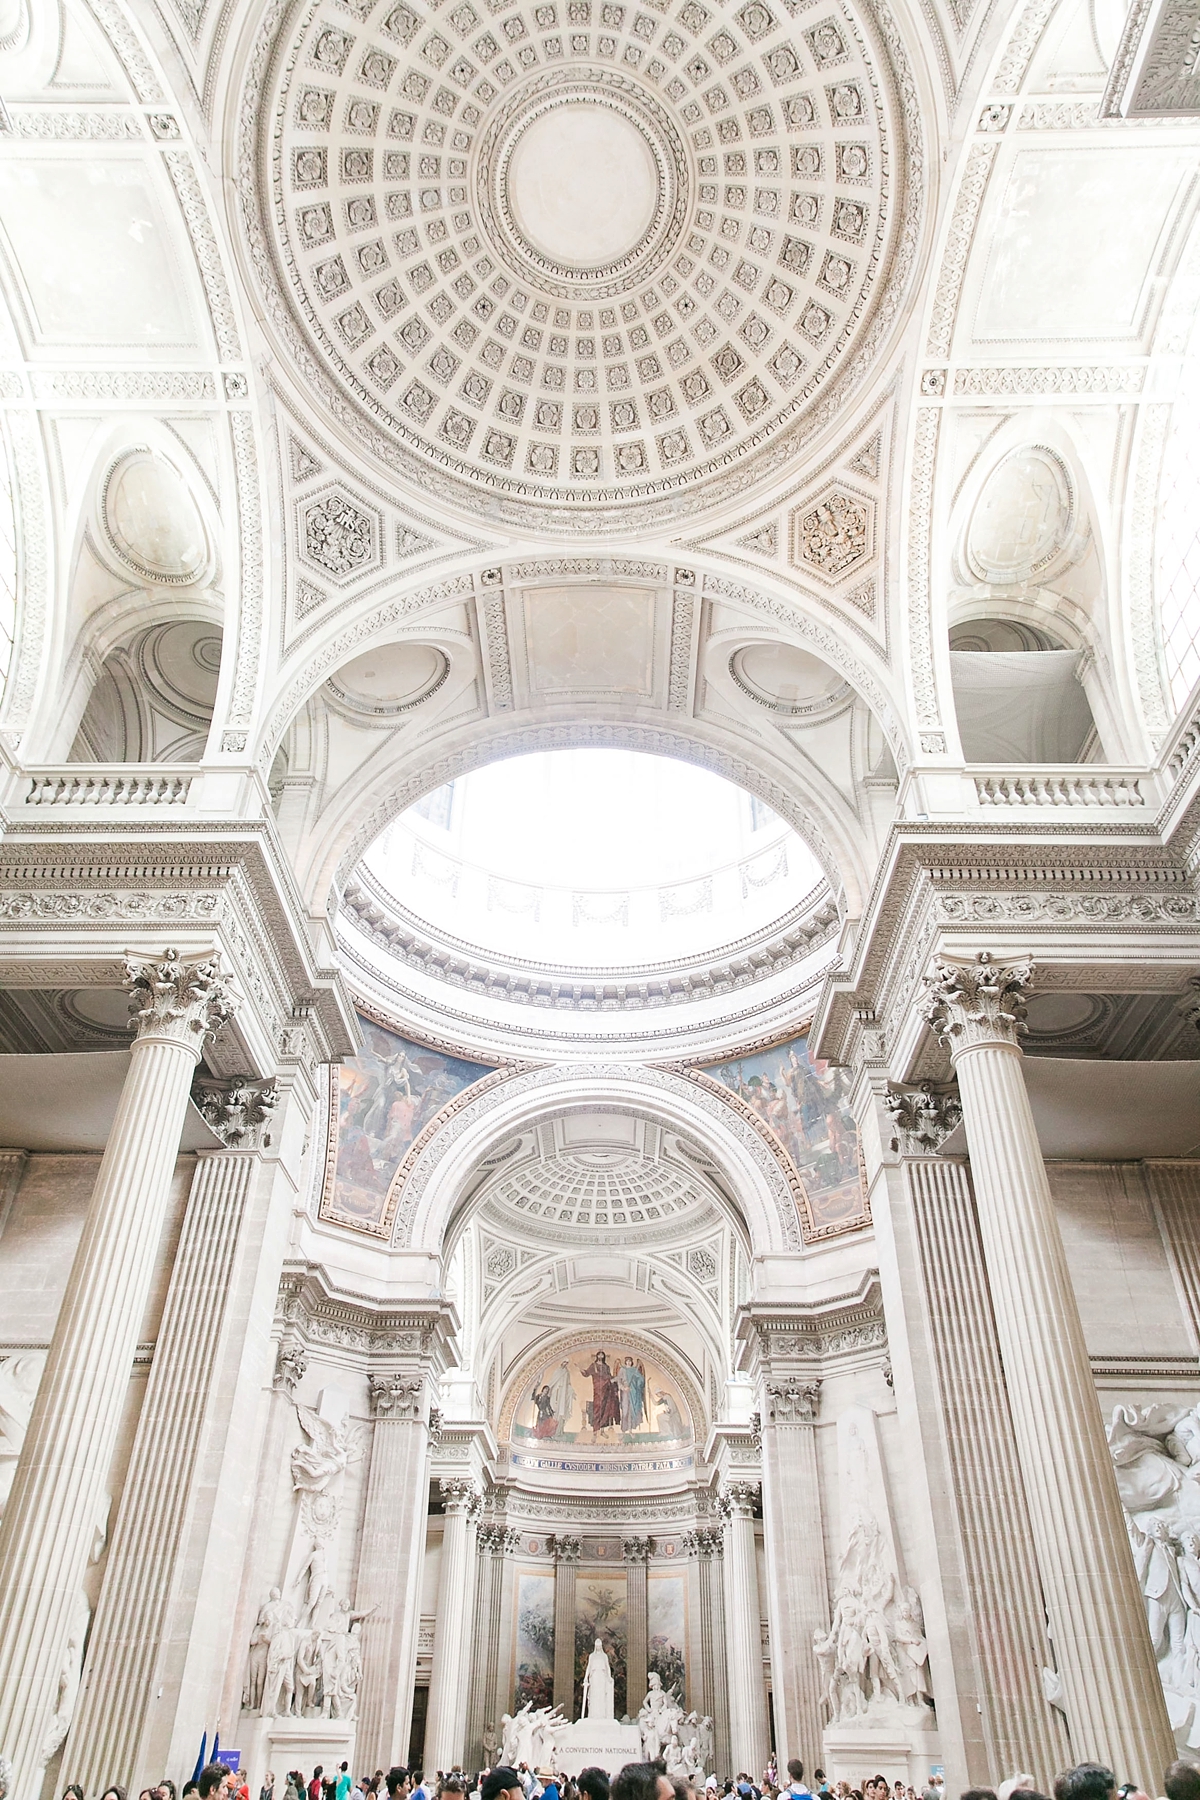
The Pantheon in Paris was handing out balloons on Bastille Day!
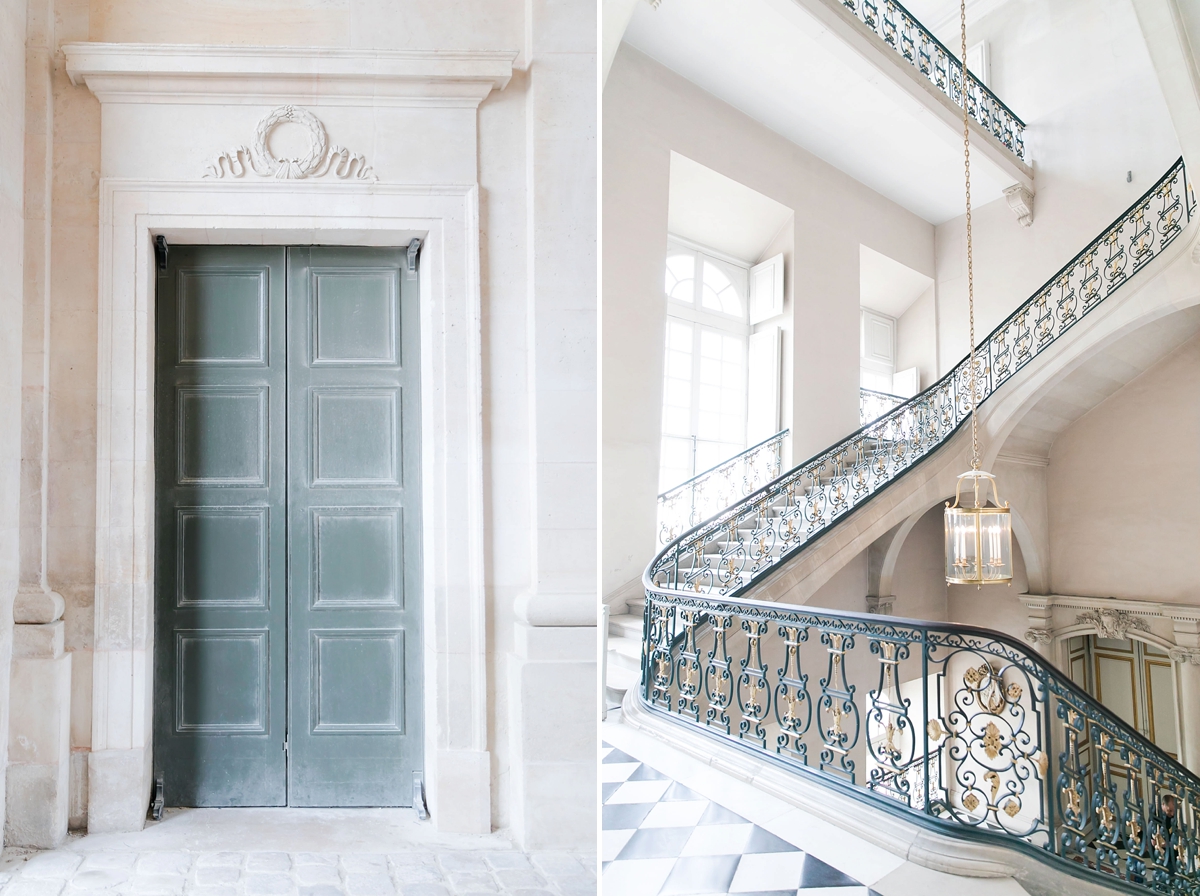
For the stair photo from Versaille, I backed myself up in the corner as far as I could and waited oh so patiently for the large tour group to take their pictures and pass through.
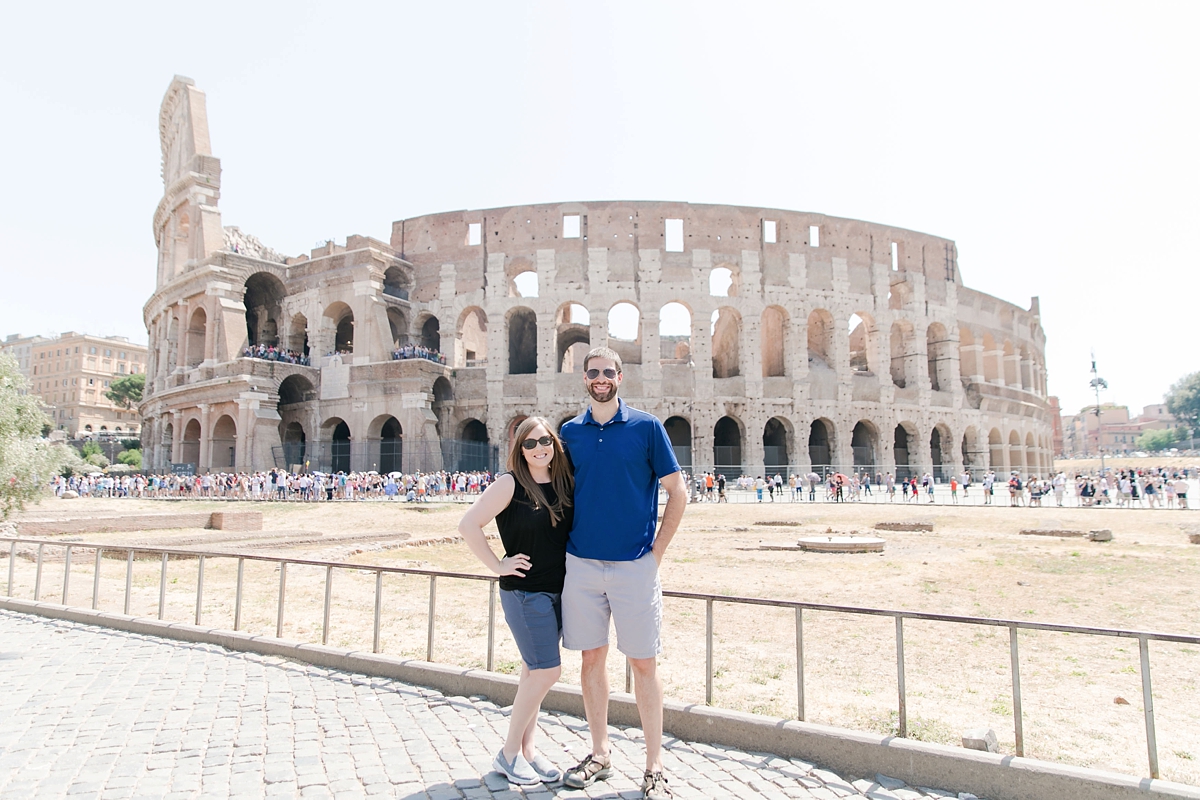
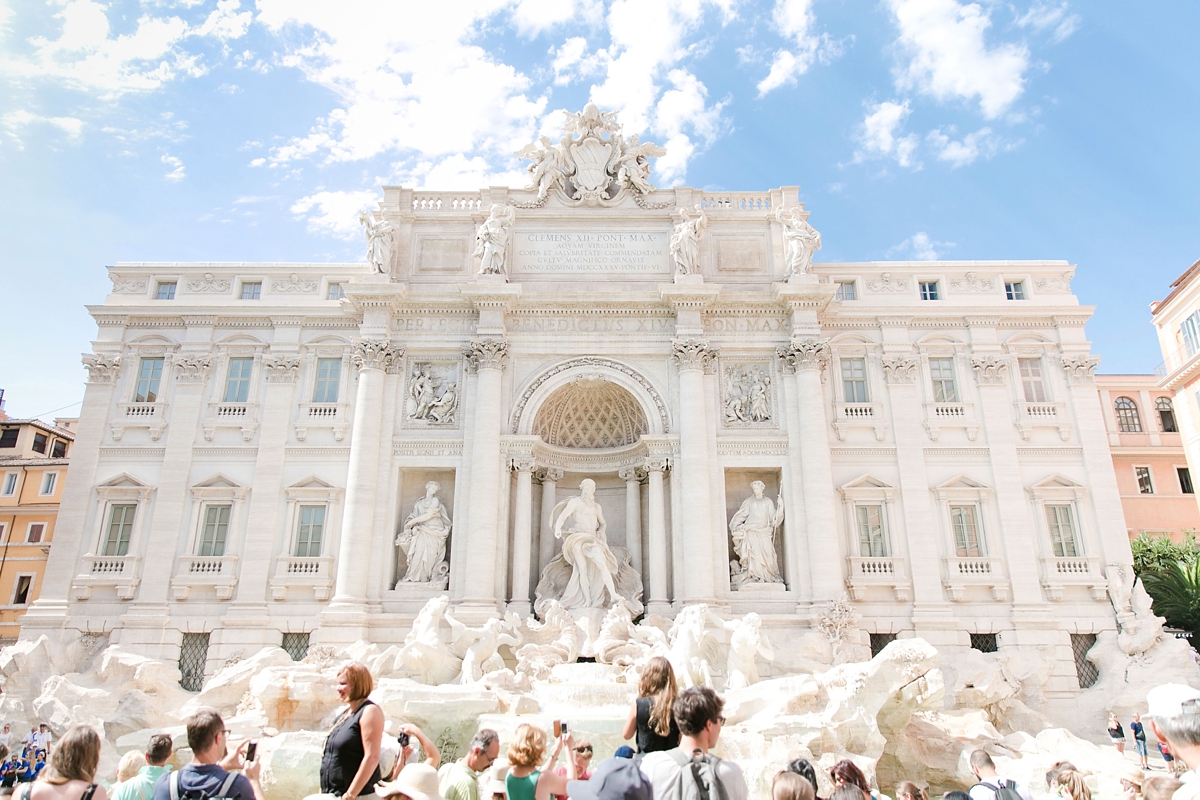
5. Crop Strategically
I first learned this trick from another photographer named Scott Kelby. When you’re traveling in very popular destinations, it can be tricky taking a photo of a particular landmark without getting a ton of people in your photo. His tip? Crop up. Crop above all the heads. When we went to Rome, I took a picture of the Trevi fountain by cropping up above the heads of the people instead of what was at eye level (“the walk up shot”). That way, your focus was on the fountain rather than the people. (I actually had to raise my camera up above my head for this particular shot).
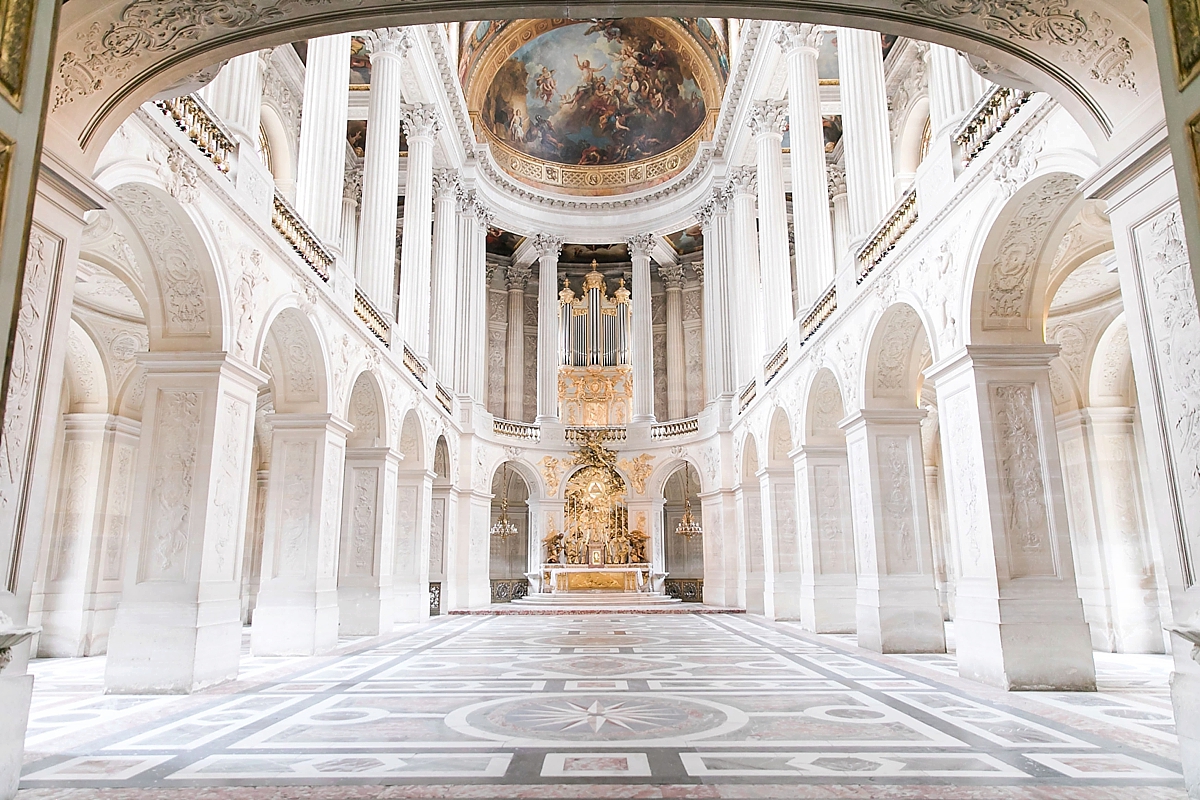
Also, by cropping up, you get to see really interesting ceilings!
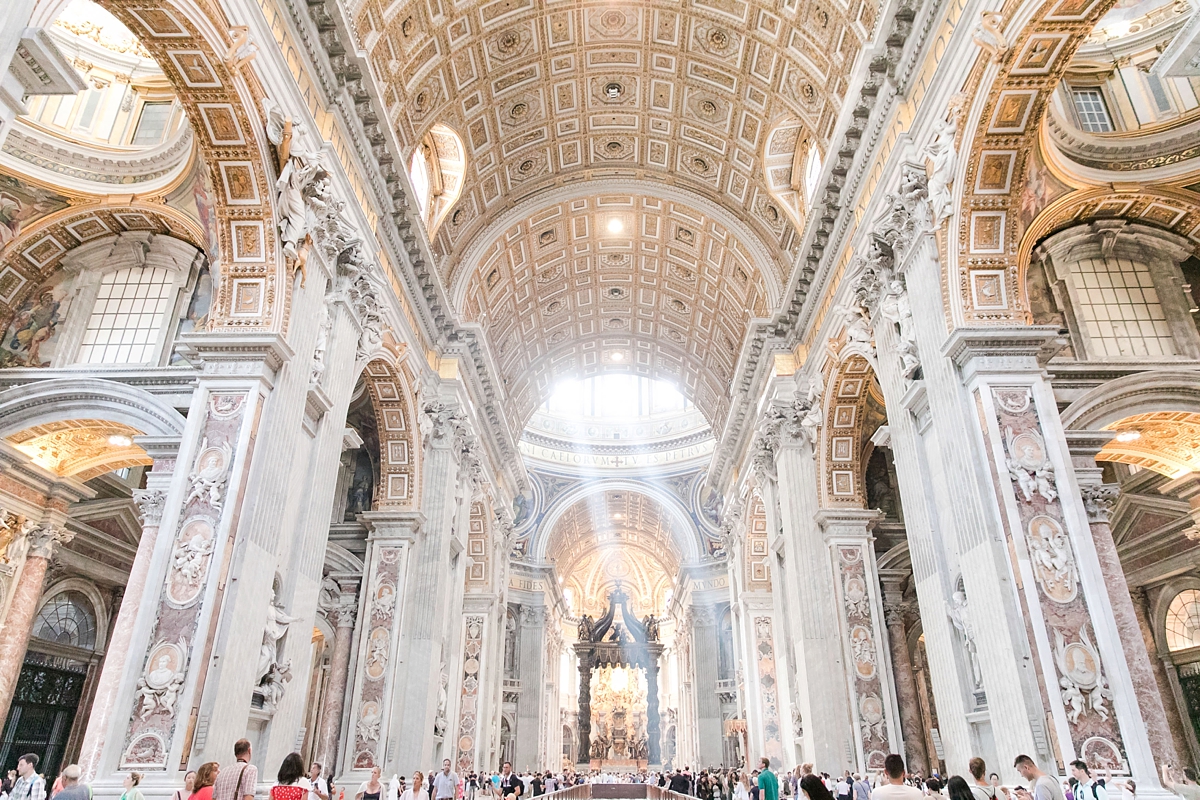
With this photo at Versailles, I placed my camera on the bottom of a gate that was blocking off this chapel to the public. Then I angled my camera up towards the ceiling to get a better and more dramatic angle and the fresco on the ceiling. You actually couldn’t even get the fresco in the photo in the “walk up shot”. (#Justsaynotothewalkupshot)
I hope this was helpful! I can’t wait to see your next vacation photos! They’re going to be amazing!!
post date:

How to Take Better Vacation Photos
Question 1: “Is it safe to travel with your camera??”
Question 2: “What lenses did you bring with you??
Question 3: “What camera bag did you bring??”
I use this cross body camera strap by Black Rapid (it’s currently discontinued so here’s a similar strap) and I wear my camera while we’re out and about. The great thing about this cross body strap is that it is super comfortable, very easy to wear and you don’t have to worry about anyone coming up and snatching your camera off your shoulder. When I need to stow the camera away, we just put it in the backpack. People might think it’s strange that I don’t carry a camera bag while sightseeing but this is just what works for me. I’m CONSTANTLY taking pictures so it just makes more sense to me to keep my camera out instead of having to pull it in and out of a camera bag all day long. So now that you’ve seen our sightseeing-setup, let’s dive into my top five travel tips!!
1. Bring a Tripod
This is my favorite tip. We’ve gotten to where we bring our tripod on every vacation. Michael found a way to attach it to our backpack so we can carry it around when we sightsee and it’s not an issue. If we find a place that I deem tripod worthy, we set it up and then wait patiently for the people to clear. When we took our own anniversary portraits in Paris, we used a tripod. It took a lot of finagling to get the right angle but it paid off big time.
Having a tripod just makes me feel a lot more comfortable taking photos when we travel. Not everybody knows how to use a DSLR camera and, personally, I’m not that comfortable handing over my camera to a stranger to take our photo. When we were in Miami, a very nice, older man offered to take our picture on the beach. He was so sweet to just offer to take our photo! But when I handed him my camera, he started walking away from us and I got a weird feeling. He started walking down the beach away from us and I told Michael that I thought he may be stealing our camera. He wasn’t. He just found what he thought was a great angle and wanted to take our photo from that vantage point. But it was still enough for me to feel uncomfortable handing off my camera to a stranger unless it was someone else who also had a DSLR camera and looked like they knew what they were doing. (I still don’t even do that.)
Here are some of our travel tripod photos!
Another reason I LOVE having a tripod on vacations is so that I can take long exposures at night. These shots were only possible by setting my camera on a tripod and taking long exposures. The fireworks photo was taken with a two second exposure. That way, you can see the pathways of the fireworks and the sparkle from the tower.
With this photo from Singapore, we were just hanging out and watching the laser show so I started having fun with long exposures. This was a thirty second exposure. I got all the lasers!!
2. Get a Remote
My other favorite tip is getting a remote. I found this remote on Amazon for under $10 and it is well worth it. If you set your camera to a 2 second timer and use your remote to trigger your shutter, you’ll have enough time to hide your remote in your hand. This is also great for taking pictures of yourself without having to use a 10 second timer and running back-and-forth to take the photo. When you set this up, you’ll have to have someone standing in place so you can set the focus on them. Then just place yourself in the frame and use your remote to take the picture! This is what we were going to do when we took our anniversary portraits in Paris but we lost our remote sometime during sightseeing and I ended up running back-and-forth with a 10 second timer. In heels. If you’ve ever done that at some point in your life, get a remote!
3. Find Good Light
It’s no secret that our favorite time to shoot it’s about two hours before sunset. But we know that when you’re on vacation, you’re taking photos all day long. One of the photographers for National Geographic once shared that National Geographic won’t even look at landscape photos that were taken during the daytime. They only accept and publish photos that were taken at sunset. Even if the photo is absolutely amazing, they won’t use it unless it was taken at sunset. That may sound a little extreme, but Nat Geo knows that good light = a good photo. Midday sun is the hardest light to photograph. The light is so bright, and so harsh that if you’re photographing people, they will have unflattering shadows around their eyes and nose. Now we’re not all National Geographic photographers, but if you think like one, you’ll take photos like one.
When it comes to vacation photos, try to find even light from head to toe. Even light means that your whole body has the same kind of light from head to toe. You don’t want to have half of your body in shade and half of your body in the sun. Pay attention to where the sun is and always try to keep it behind you instead of staring right into it. Nobody likes squinty eye pictures! If you’re not sure about which way to face, face your shadow or have it angled up to 45 degrees away in front of you. That will ensure that the front of your body will be in even light. Bonus: get even light from head to toe on your body, and even light in the background behind you.
This was taken close to the middle of the day. This photo works because I placed the sun behind us (look at our shadows). Also, for photographers, I used the cobblestone road as a natural reflector to bounce soft light back up on our faces. This way, our faces aren’t too dark and I get that bright and airy look that I love!
4. Photograph the Details
Maybe this is where being a wedding photographer gives me an edge with travel photos but I looooove photographing details. Some of my favorite travel photos have been the details of the places we’ve visited. It’s easy to get that iconic post card shot of places (or what I call – “the walk up shot” – where you walk up and take what you see at eye level) but have you ever looked for the smaller details in and around the area? Or different angles? I always look for country flags, interesting doors, flowers that only bloom in that area, or any kind of characteristic or thing that is special to the place we’re visiting. Michael knows I have a weird love of old doors. When we were in Isla Mujeres riding around on a golf cart we rented, he stopped every time I saw an interesting door and let me get out and photograph it. He’s such a patient and loving husband!
I love this truck on the left! Details don’t always have to be pretty. This photo captures part of what life is like in Thailand.
Prayers and wishes in Tokyo.
Buddhist details in Thailand.
50 year anniversary lanterns in Singapore! (And teal shutters!!)
I just loved how they decorated the long tail boats in Thailand so I made sure to take a photo!
I was actually just hanging out in the shade when I saw this view through the tree.
This is just part of my obsession with doors….
Look for interesting lead lines!
The Pantheon in Paris was handing out balloons on Bastille Day!
For the stair photo from Versaille, I backed myself up in the corner as far as I could and waited oh so patiently for the large tour group to take their pictures and pass through.
5. Crop Strategically
I first learned this trick from another photographer named Scott Kelby. When you’re traveling in very popular destinations, it can be tricky taking a photo of a particular landmark without getting a ton of people in your photo. His tip? Crop up. Crop above all the heads. When we went to Rome, I took a picture of the Trevi fountain by cropping up above the heads of the people instead of what was at eye level (“the walk up shot”). That way, your focus was on the fountain rather than the people. (I actually had to raise my camera up above my head for this particular shot).
Also, by cropping up, you get to see really interesting ceilings!
With this photo at Versailles, I placed my camera on the bottom of a gate that was blocking off this chapel to the public. Then I angled my camera up towards the ceiling to get a better and more dramatic angle and the fresco on the ceiling. You actually couldn’t even get the fresco in the photo in the “walk up shot”. (#Justsaynotothewalkupshot)
I hope this was helpful! I can’t wait to see your next vacation photos! They’re going to be amazing!!
weddings
engagement
bridals
personal
education

- Joanna
thanks for reading!
sort by
category
weddings
engagement
bridals
personal
education


Copyright 2026 Joanna Krueger

X Close comments